Putting a drill bit into a drill sounds simple, but missing a detail can mean a loose bit, damaged tool, or even injury. Whether you use power drills for home repairs or in a workshop, knowing how to insert a drill bit correctly saves time and trouble.
This guide covers the process from start to finish, including safety, choosing the right bit, and handling different types of drills. It also highlights practical mistakes beginners make, and includes tables comparing drill types and bit materials. If you’re new to drills or want to improve your skills, you’ll find clear guidance here.
Table of Contents
Why Choosing The Right Drill Bit Matters?
Drill bits are not all the same. The material, size, and type of bit affect the result and how you put it into the drill. Using the wrong bit can damage both your project and your tool.
For example, wood bits are not suitable for concrete, and metal bits require specific handling. The diameter also matters—too small a bit may slip, while too large may not fit the chuck.
Here’s a quick comparison:
| Bit Type | Best For | Common Sizes |
|---|---|---|
| Wood | Soft/hard wood | 1/16″ to 1/2″ |
| Masonry | Brick, concrete | 1/8″ to 1/2″ |
| Metal (HSS) | Steel, aluminum | 1/16″ to 1/2″ |
Choose the right bit before you begin. If you’re unsure, check the packaging or ask for advice at a hardware store.
Safety First: What You Need Before Inserting A Drill Bit
Safety is often overlooked. Always wear safety glasses to protect your eyes from flying debris. Secure long hair, remove jewelry, and keep loose clothing away from the drill. Make sure the drill is unplugged or the battery is removed before handling the bit. This prevents accidental starts.
A good habit is to inspect the drill chuck and bit for damage before use. A cracked bit or rusty chuck may cause failure mid-job. If you notice any damage, replace the part.
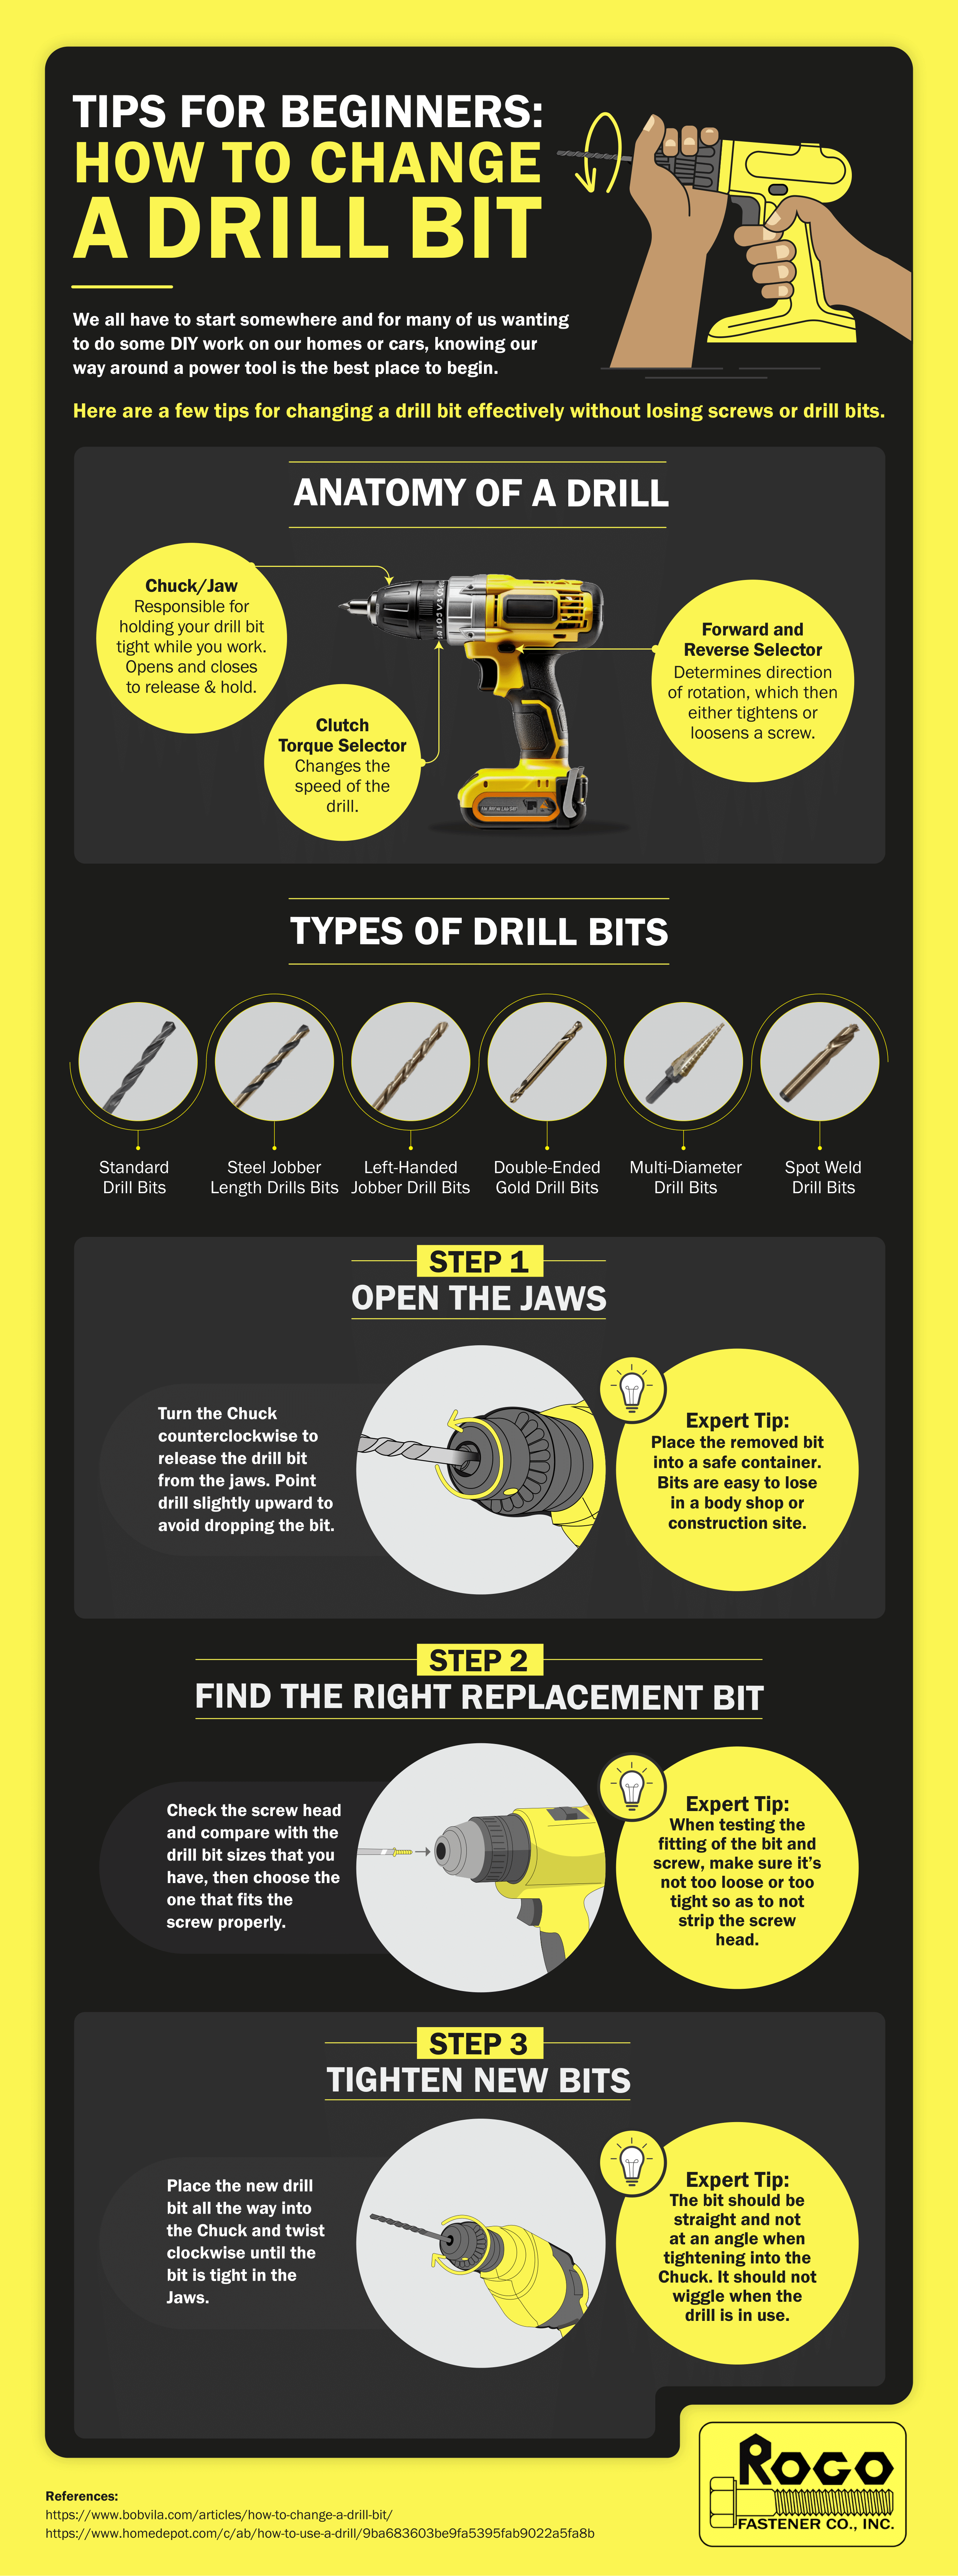
Types Of Drill Chucks And How They Work
Different drills have different chucks. The chuck is the part that holds the bit. There are two main types:
- Keyless chuck – You twist it by hand to open and close.
- Keyed chuck – Uses a special tool (chuck key) to tighten or loosen.
Knowing your chuck type is important. The process of inserting the bit changes slightly depending on which you have.
Here’s a quick comparison:
| Chuck Type | Operation | Common Uses |
|---|---|---|
| Keyless | Hand-twist | Home drills, cordless |
| Keyed | Requires chuck key | Heavy-duty, workshop |
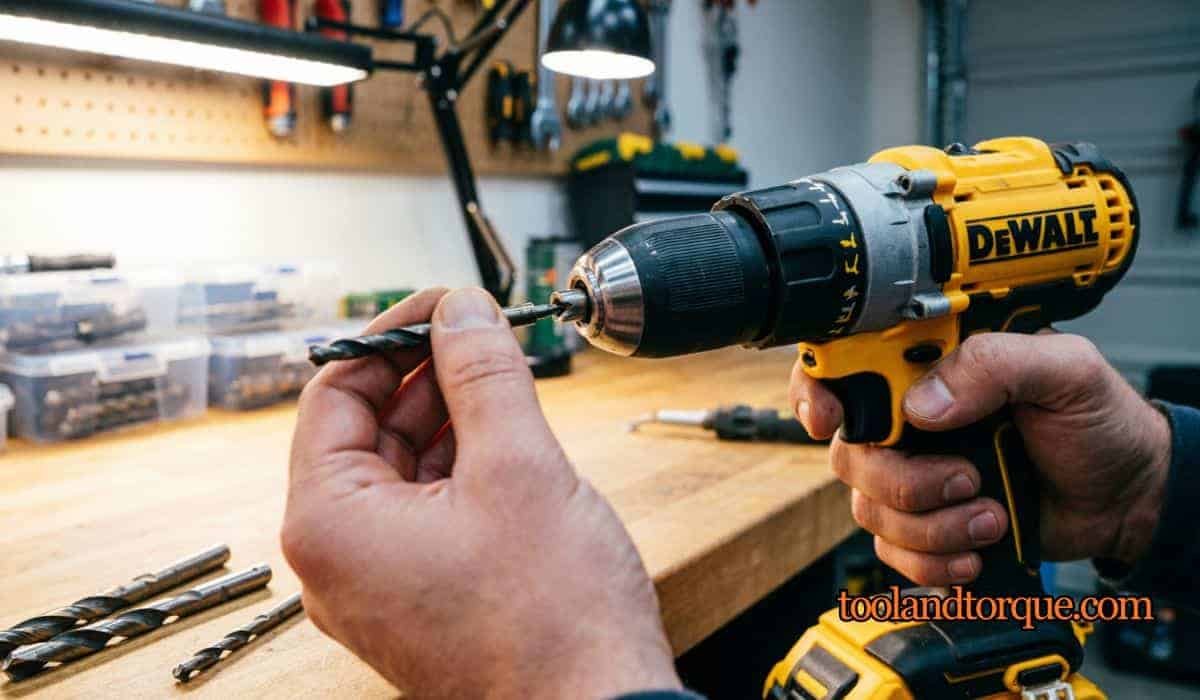
How To Put A Drill Bit In A Keyless Drill?
Most modern drills use keyless chucks. This makes changing bits faster and easier. Follow these steps:
- Power off the drill. Remove the battery if it’s cordless, or unplug it if it’s corded.
- Hold the drill upright. Grip the chuck firmly.
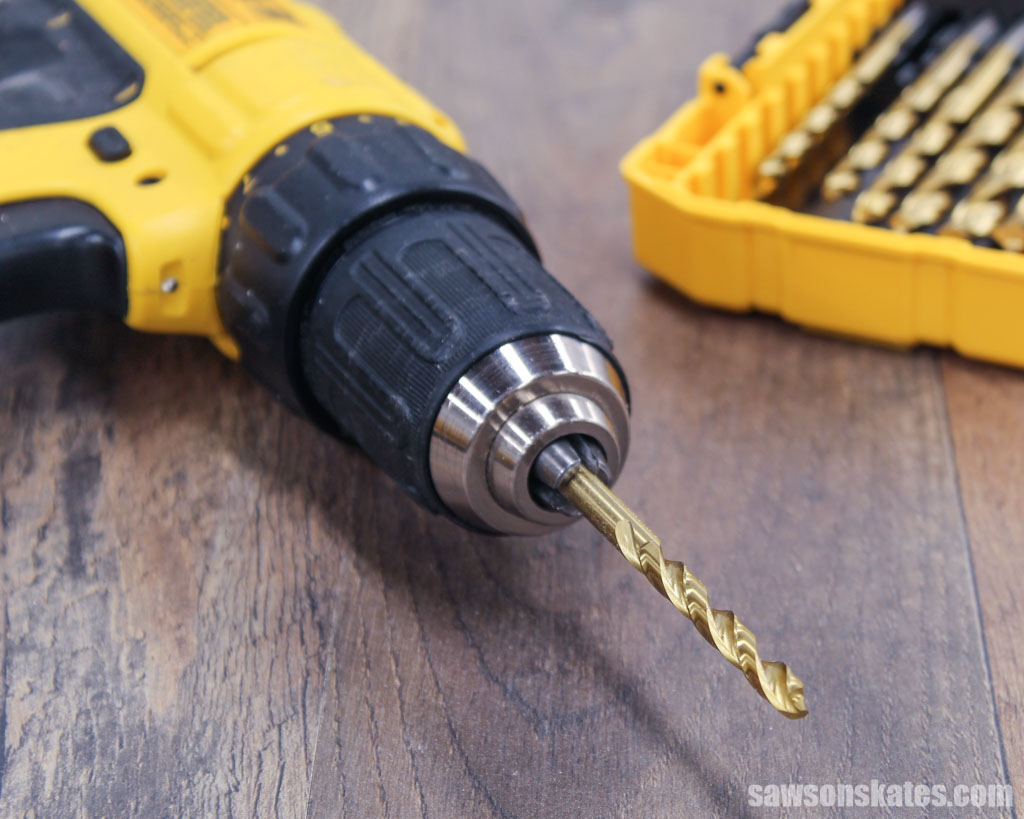
- Twist the chuck counterclockwise. This opens the jaws. Keep twisting until the opening is wide enough for your bit.
- Insert the drill bit. Place the smooth end (shank) into the center of the chuck. Make sure it’s straight, not tilted.
- Twist the chuck clockwise. Tighten by hand. You’ll feel the jaws grip the bit.
- Check for tightness. Try to pull the bit out gently. If it moves, retighten.
A non-obvious tip: Always wipe the bit before inserting. Even a small amount of oil or dust can cause slipping.

How To Put A Drill Bit In A Keyed Drill?
Keyed chucks use a small tool called a chuck key. These are common in older or heavy-duty drills. Here’s what to do:
- Power off the drill. Unplug or remove battery.
- Insert the chuck key. Find the hole on the side of the chuck. Place the key into the hole.
- Turn the key counterclockwise. The jaws open. Turn until the opening fits your bit.
- Insert the bit. Place the shank into the center. Hold it steady.
- Turn the key clockwise. Tighten the jaws around the bit. Try to tighten at two or three points (the chuck usually has several holes).
- Remove the key. Pull gently to release.
An extra tip: Keep the chuck key attached to your drill with a string or magnet. Losing it is a common mistake, especially for beginners.
How To Insert Bits In Hex Drills And Impact Drivers?
Some drills and drivers use hex chucks. These are designed for bits with a hexagonal shape. They are often used in impact drivers for quick bit changes.
Steps:
- Power off the tool.
- Pull back the sleeve on the chuck.
- Insert the hex bit.
- Release the sleeve. The bit locks automatically.
Hex chucks are fast, but always check for secure locking. If the bit falls out during use, it can cause damage.
Checking Alignment And Tightness
Once the bit is inserted, check if it’s straight. A tilted bit can wobble and break. Hold the drill sideways and look along the shaft. If it’s not centered, reopen the chuck and try again.
To test tightness, set the drill to low speed and press the trigger briefly. If the bit spins smoothly without shaking, it’s tight. If you see wobbling, stop and retighten.
Common Mistakes When Putting A Drill Bit In A Drill
Many beginners make simple errors. Here are the most frequent ones:
- Not powering off – Always turn off the drill before changing bits.
- Inserting the bit off-center – Leads to poor drilling and damage.
- Not tightening enough – Bit slips or falls out.
- Using the wrong bit size – Can get stuck or not grip.
- Forgetting the chuck key – Keyed chucks need the key; losing it halts the job.
One less obvious mistake: Over-tightening the chuck. This can damage the threads and make future bit changes harder. Tighten enough to hold the bit, but don’t force it.
Drill Bit Materials And Their Effects
Drill bits come in various materials. The choice affects both drilling and how you insert the bit.
| Material | Strength | Best Use |
|---|---|---|
| High-Speed Steel (HSS) | Medium | Wood, metal |
| Carbide | High | Concrete, masonry |
| Cobalt | Very High | Hard metals |
Always match the bit material to your project. For example, carbide bits are harder to insert and require careful handling. HSS bits are easier for beginners.
Practical Tips For A Secure Fit
- Clean the bit before inserting. Dirt and oil reduce grip.
- Open the chuck wide enough. Forcing the bit damages both the bit and chuck.
- Do not use excessive force. If the bit won’t go in, check for burrs or damage.
- Tighten gradually. Listen for clicks or resistance.
- Test before use. Spin the drill at low speed to check for wobble.
One useful practice: Mark your drill bits with colored tape. This helps you identify the correct bit quickly and prevents mix-ups.
Advanced Guidance: For Cordless And Hammer Drills
Cordless drills often use keyless chucks, while hammer drills (for masonry) may use special bits. If you’re working with a hammer drill, make sure the bit is compatible with the SDS chuck system.
For cordless drills, always remove the battery before changing the bit. Cordless models can start unexpectedly due to sensitive triggers.
If you use a hammer drill, insert the bit until you hear or feel a click. This means the bit is locked. Never force the bit if it doesn’t fit—double-check compatibility.
When To Replace A Drill Bit
A dull or damaged bit is unsafe and ineffective. Signs you need to replace the bit:
- Bit is visibly worn or chipped.
- Drill struggles or squeals.
- Holes are rough or uneven.
- Bit slips out of the chuck, even when tightened.
For best results, replace bits regularly. Investing in quality bits improves safety and performance.
Data: Drill Usage In The Us
In the United States, about 80% of households own at least one power drill, according to the Home Improvement Research Institute. The most common use is for basic repairs and furniture assembly. Safety incidents are rare but usually linked to improper bit handling.
Maintaining Your Drill And Bits
Proper maintenance extends tool life. After each use:
- Remove the bit and clean it.
- Wipe the chuck and drill body.
- Store bits in a dry, organized box.
- Lubricate the chuck if it feels stiff.
Avoid storing the drill with a bit inserted. This can cause rust and make removal harder.
Troubleshooting: If The Bit Won’t Fit
Sometimes a bit won’t go in. Causes include:
- Chuck is not open wide enough.
- Bit is bent or damaged.
- Chuck jaws are misaligned.
- Wrong bit type for your chuck.
If you’re stuck, check the chuck for debris or rust. Use a small brush to clean it. For stubborn bits, try rotating the bit gently while inserting.
If your drill is new and the bit won’t fit, consult the manual or contact support. Some drills use proprietary chuck sizes.
Expert Advice: Avoiding Long-term Problems
A common oversight is ignoring small issues. For example, a chuck that’s hard to open may need lubrication. Using force can damage gears. If the drill feels weak or the chuck slips often, service the tool.
Always keep your chuck key in a known place. Many users lose keys, and replacement can be costly. For keyless chucks, inspect the jaws regularly. Bent jaws should be replaced.
If you work in a dusty environment, cover your drill between jobs. Dust buildup can affect chuck performance.
Frequently Asked Questions
How Do I Know If My Drill Uses A Keyless Or Keyed Chuck?
Check the front of your drill. If there’s no tool needed to loosen the chuck, it’s keyless. If you see a gear-shaped tool (chuck key), it’s keyed. Most modern drills are keyless.
What Should I Do If My Drill Bit Keeps Slipping?
Slipping usually means the chuck isn’t tight enough or the bit is oily. Remove the bit, clean it, and retighten. If the chuck is damaged, replace it.
Can I Use Any Drill Bit With Any Drill?
No, not all bits fit all drills. Match the shank size and type to your chuck. For example, SDS bits won’t fit standard chucks.
How Tight Should The Drill Bit Be?
The bit should be tight enough that you can’t pull it out by hand. Don’t overtighten—this can damage the chuck.
Is It Safe To Change The Drill Bit With The Drill Plugged In?
No, always unplug or remove the battery before changing bits. This prevents accidents.
Lastly
Putting a drill bit into a drill is a basic skill, but doing it correctly makes every project smoother. From choosing the right bit to checking alignment and tightness, each step matters. Take your time, follow safe practices, and keep your tools in good condition. By using the right technique and avoiding common mistakes, you’ll get better results and protect your equipment for years to come.
Leave a Reply