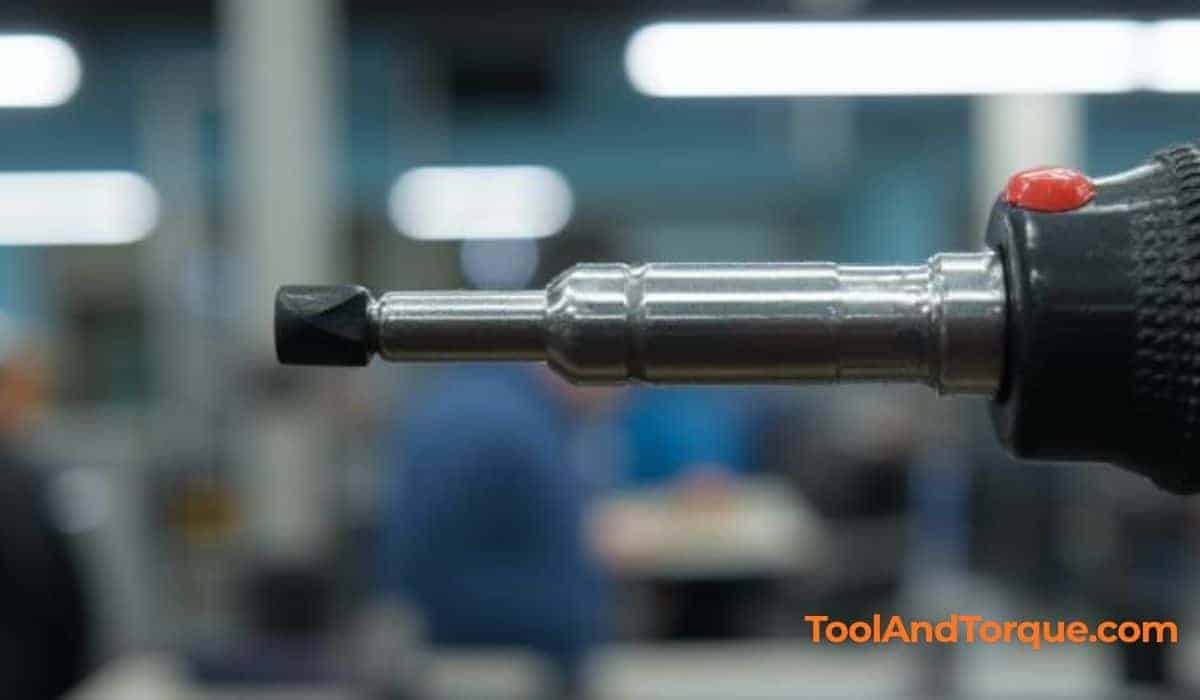
A torque screwdriver is a precision tool that applies a specific amount of torque to a fastener, such as a screw. Accurate torque is important in electronics, automotive, aerospace, and manufacturing. If the torque is too low, the fastener may loosen. If it is too high, it can damage threads or materials. This is why calibration is essential.
Many technicians assume their torque screwdriver remains accurate forever, but regular calibration is necessary. Without calibration, measurement errors can build up. Over time, even high-quality tools can drift out of specification. Let’s walk through what calibration means, why it matters, and how to perform it correctly.
Table of Contents
Why Calibration Matters?
Manufacturers set strict torque specifications for safety and reliability. For example, in electronics, applying too much torque may crack circuit boards. In the automotive industry, torque errors can cause parts to fail on the road.
Studies show that calibration drift can occur after as little as six months of frequent use. According to the National Institute of Standards and Technology (NIST), even a 10% error in torque can cause significant quality issues.
Calibration is not only about compliance; it reduces rework, warranty claims, and safety risks. For teams working in regulated industries, calibration is often required by law.
How Torque Screwdrivers Work?
A torque screwdriver is designed to limit torque. When you reach the preset value, the tool “slips” or signals you to stop. There are two main types:
- Preset torque screwdrivers: The torque value is fixed or adjusted with a special tool.
- Adjustable torque screwdrivers: You can change the torque setting easily.
Most models use a mechanical clutch or cam mechanism to control torque. Electronic models display torque values digitally.

Before Calibration: Preparation
Successful calibration starts with preparation. Skipping these steps can lead to inaccurate results.
Gather Required Equipment
- Torque analyzer or calibration device (must be more accurate than your screwdriver)
- Calibration weights (for some methods)
- Screwdriver manufacturer’s instructions
- Clean workbench
- Safety gloves
Check Tool Condition
Inspect the screwdriver for:
- Physical damage
- Dirt, grease, or corrosion
- Smooth operation of clutch mechanism
A damaged tool cannot be calibrated accurately. If the tool fails inspection, repair or replace it.
Review Calibration Interval
Most manufacturers suggest calibration every 6–12 months, or after 5,000–10,000 cycles. Heavy use or harsh environments may require shorter intervals.
Calibration Methods
There are several ways to calibrate a torque screwdriver. The best method depends on your tool and workplace.
Method 1: Using A Torque Analyzer
This is the most reliable way for most technicians.
- Set up the analyzer. Mount the torque screwdriver on the analyzer. Make sure the device is zeroed.
- Select the target torque. Adjust your screwdriver to the desired value.
- Apply torque. Slowly turn the screwdriver until the clutch activates. Note the torque reading on the analyzer.
- Repeat. Test at least 5–10 times, ideally at low, mid, and high settings.
- Record results. If the readings are within the manufacturer’s tolerance (usually ±6%), the tool passes. If not, adjust the screwdriver and retest.
Method 2: Using A Weight And Lever
This method is older and less common but still used for basic tools.
- Attach the screwdriver horizontally.
- Attach a lever arm to the handle.
- Hang a known weight at a measured distance to apply torque.
- Activate the screwdriver and check if the clutch triggers at the correct torque.
- Adjust and repeat as needed.
Method 3: Outsourcing Calibration
Some companies send tools to certified calibration labs. Labs use high-precision equipment and provide a certificate. This is required for ISO compliance.

Adjusting The Torque Screwdriver
If your tool is outside tolerance, adjustment is needed.
Find The Adjustment Point
Most adjustable torque screwdrivers have a dial or screw. Preset models often require a special key.
Adjust The Setting
- Turn the adjustment screw or dial to increase or decrease torque.
- Test again with the analyzer.
- Repeat until readings are accurate.
Secure The Setting
Many tools have a lock mechanism. Secure it to prevent accidental changes.
Verification And Documentation
After calibration, it’s important to verify and record results.
Verification
Test the tool at multiple points (low, mid, high). Consistent readings mean the tool is calibrated.
Documentation
Record:
- Date
- Technician name
- Tool serial number
- Calibration results
- Next calibration due date
This record is critical for audits and quality control.
Practical Tips For Accurate Calibration
Even skilled technicians can miss details. Here are some insights:
- Warm up the tool. Operate the screwdriver 10 times before calibration. Cold tools can give false readings.
- Use slow, steady motion. Rapid movement can affect accuracy.
- Calibrate at typical working speeds. If you usually turn screws slowly, calibrate at that speed.
- Avoid over-tightening. If you apply extra force after the clutch activates, you may damage the mechanism.
- Check ambient conditions. Temperature and humidity can affect torque tools, especially electronic models.
- Store tools properly. Keep screwdrivers in a clean, dry case. Dropping the tool can ruin calibration.
Common Mistakes During Calibration
Technicians often overlook these errors:
- Skipping repeated tests. Testing only once is unreliable. Always repeat for consistency.
- Ignoring tool wear. Calibration cannot fix mechanical wear. Replace worn parts first.
- Using incorrect equipment. The calibration device must be more precise than the screwdriver.
- Not adjusting for torque direction. Some tools measure clockwise only; always check both directions if needed.
- Failing to record results. Missing documentation can cause compliance problems.
Comparison Of Calibration Methods
Here’s a comparison of the three main calibration methods for torque screwdrivers:
| Method | Accuracy | Equipment Needed | Cost | Best For |
|---|---|---|---|---|
| Torque Analyzer | High (±1%) | Analyzer device | Medium | Most technicians |
| Weight & Lever | Medium (±5%) | Weights, lever arm | Low | Basic tools, DIY |
| Calibration Lab | Very High (±0.5%) | Professional lab | High | ISO, regulated industries |
Manufacturer Tolerances For Common Brands
Most manufacturers specify allowable torque tolerances. Here is a comparison:
| Brand | Tolerance (%) | Calibration Interval |
|---|---|---|
| Wiha | ±6% | 12 months |
| PB Swiss | ±4% | 6 months |
| Stahlwille | ±3% | 12 months |
| Wera | ±6% | 12 months |

Example: Calibrating An Adjustable Torque Screwdriver
Let’s use an example with a Wiha adjustable torque screwdriver.
- Set the tool to 2.0 Nm.
- Mount it on a torque analyzer.
- Apply torque until the clutch activates.
- The analyzer shows 1.94 Nm, 2.03 Nm, 1.98 Nm, 2.01 Nm, and 2.00 Nm in five tests.
- All readings are within ±6% tolerance (1.88–2.12 Nm). The tool passes.
- Record the results in your calibration log.
If any test falls outside the range, adjust the tool and retest.
When To Replace Instead Of Calibrate?
Calibration cannot solve all problems. Sometimes, replacement is better.
- If the screwdriver clutch slips irregularly
- If torque readings vary by more than 10%
- If the tool is damaged or corroded
Trying to calibrate a worn-out tool can waste time and lead to errors.
How Often Should You Calibrate?
Frequency depends on usage, environment, and industry standards.
| Usage Level | Recommended Interval |
|---|---|
| Light (occasional use) | 12 months |
| Medium (daily use) | 6 months |
| Heavy (production line) | 3 months |
| Critical (safety-related) | Every month |
Many organizations set their own calibration schedules based on these guidelines.
External Standards And Resources
For official calibration guidelines, the NIST and ISO 6789 standards are widely used. These documents describe detailed calibration procedures and tolerances.
Frequently Asked Questions
How Do I Know If My Torque Screwdriver Needs Calibration?
Look for signs like inconsistent torque, unusual clutch operation, or if you use the tool frequently. Check your calibration log and follow manufacturer intervals.
What Happens If I Skip Calibration?
Skipping calibration can lead to unreliable torque, product failures, and safety risks. For regulated industries, it can result in failed audits or legal penalties.
Can I Calibrate An Electronic Torque Screwdriver The Same Way?
Electronic models often have self-test features, but they should still be checked with a torque analyzer. Follow the manufacturer’s instructions for electronic calibration.
Is Calibration Expensive?
It depends. DIY calibration with an analyzer is affordable for most technicians. Sending tools to a certified lab costs more but provides a certificate and higher accuracy.
How Long Does Calibration Take?
Typically, it takes 15–30 minutes per tool. For large batches, plan extra time for paperwork and adjustments.
Final Word
Regular calibration of your torque screwdriver is vital for quality, safety, and compliance. By following these steps and tips, you can keep your tools accurate and your work reliable. Remember to check your equipment, use proper methods, and record every calibration. This small investment saves time, money, and trouble in the long run.
Leave a Reply