
Choosing the right nail size for door trim is more than a simple hardware decision. It affects how well your trim stays in place, how clean the finish looks, and even how easy your installation will be. If you use nails that are too short, your trim may loosen over time.
If you use nails that are too long or thick, you risk splitting the wood or damaging the wall. This guide gives clear advice on nail sizes for door trim, explains why these sizes work, and helps you avoid common mistakes.
By the end, you’ll know exactly what to use for your next door trim project.
Table of Contents
Why Nail Size Matters For Door Trim?
Door trim is usually made from wood or MDF. It is not thick, and it needs to sit flush against the wall. The right nail size ensures your trim stays secure without causing damage. If nails are too thick, they can split thin trim pieces.
If nails are too short, the trim may fall off or shift. Choosing the right nail size is one of the most important steps in getting a professional look and lasting result.
Recommended Nail Sizes For Door Trim
Most door trim installations use finish nails. Finish nails have smaller heads and are less visible, making them ideal for trim work. The most common sizes are:
- 15-gauge finish nails: These are strong and hold trim tightly, but their size can cause splitting in thinner trim.
- 16-gauge finish nails: Slightly thinner, they are a good balance between strength and safety for most door trim.
- 18-gauge brad nails: Thinner and less likely to split the wood, but not as strong as 15- or 16-gauge nails.
The length of the nail matters as much as the gauge. For door trim, most professionals use nails between 1. 5 and 2. 5 inches long. The ideal nail length depends on the thickness of your trim and whether you are nailing into wood or drywall.
Here is a comparison of nail gauges and recommended lengths for door trim:
| Nail Gauge | Recommended Length | Best Use |
|---|---|---|
| 15-gauge | 2 – 2.5 inches | Heavy trim, solid wood walls |
| 16-gauge | 1.5 – 2 inches | Standard door trim, most walls |
| 18-gauge | 1.25 – 1.5 inches | Thin or delicate trim, MDF |

How To Choose Nail Size Based On Trim And Wall Material?
Every home is different. Trim thickness, wall material, and even humidity can affect your nail choice. Here’s how to decide:
Trim Thickness
- Thin trim (less than 1/2 inch): Use 18-gauge brad nails, 1.25 to 1.5 inches long. They are less likely to split thin wood.
- Standard trim (1/2 to 3/4 inch): Use 16-gauge finish nails, 1.5 to 2 inches long. This is the most common door trim size.
- Thick or decorative trim (more than 3/4 inch): Use 15-gauge finish nails, 2 to 2.5 inches long. These nails hold heavy trim well.
Wall Material
- Wood framing: Use longer nails (up to 2.5 inches) for a strong hold.
- Drywall over studs: 1.5 to 2 inches is usually enough. Make sure nails reach the wood studs, not just drywall.
- Masonry or concrete: Standard nails will not work. Use masonry nails or screws and anchors.
Example
If you’re installing a 3/4-inch thick wood trim on drywall over wood studs, 16-gauge finish nails, 2 inches long, are a safe choice. If your trim is MDF and only 1/2 inch thick, 18-gauge brad nails, 1. 25 inches long, will reduce the risk of splitting.
Nail Types For Door Trim
Finish nails and brad nails are the most common choices for door trim. Each has its advantages and limits.
Finish Nails
- 15-gauge: Thickest finish nails. Strong hold but can split thin trim.
- 16-gauge: Most popular for door trim. Good balance of strength and safety.
Brad Nails
- 18-gauge: Used for lightweight trim and delicate materials. Less visible holes, but weaker hold.
Other Nail Types
- Pin nails (23-gauge): Too thin for door trim. Used for very light decorative pieces.
- Headless nails: Rarely used for trim. These are mostly for hidden joints.
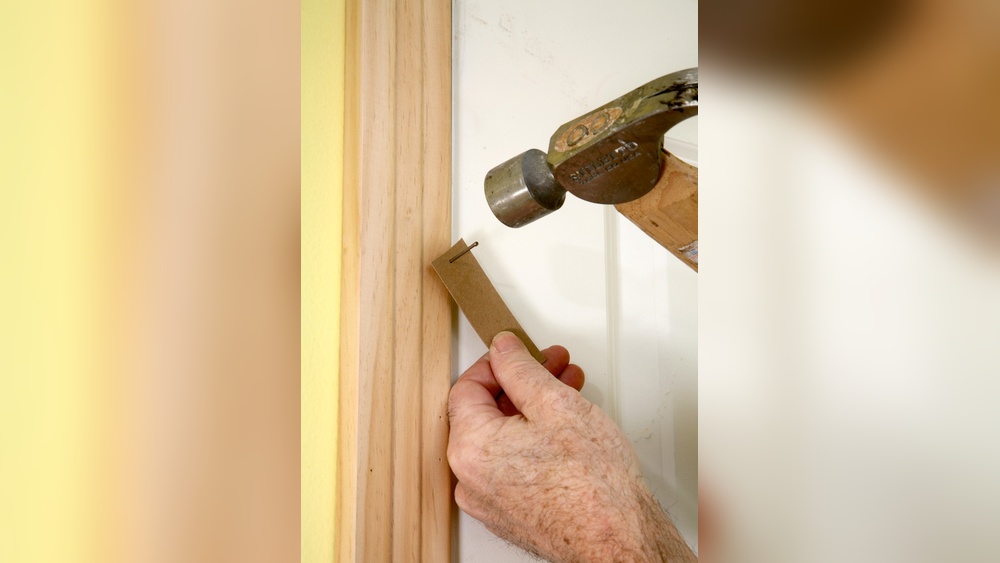
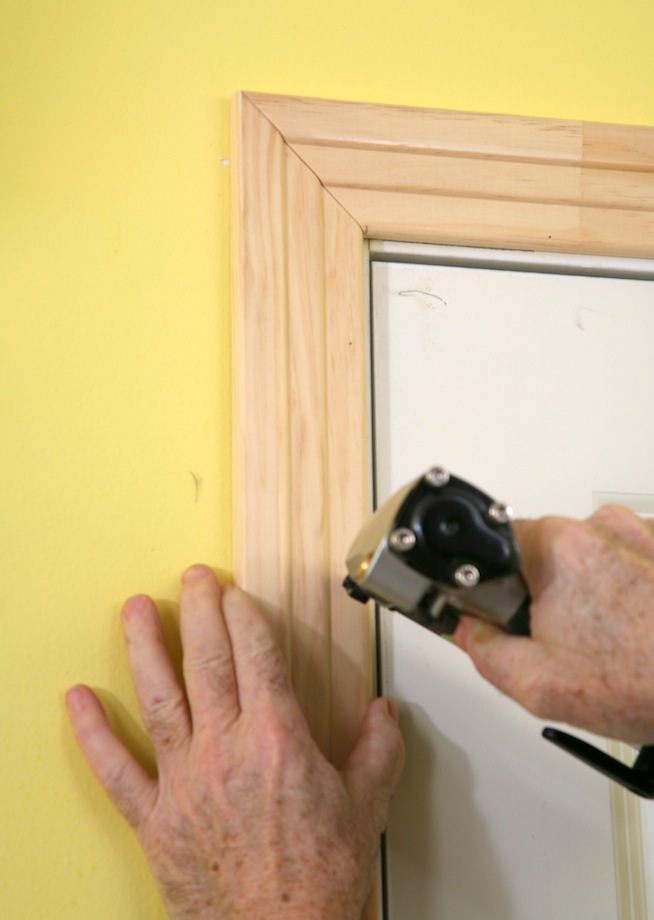
Nail Guns Vs. Hammer: Which Tool Is Best?
Most professionals use nail guns for installing door trim. Nail guns are faster and reduce the risk of bending nails or damaging trim. Hammering finish nails by hand is possible, but it takes more skill. Nail guns also make smaller holes, which are easier to fill and hide.
Here is a comparison between nail gun and hammer for door trim:
| Tool | Speed | Risk of Damage | Finish Quality |
|---|---|---|---|
| Nail Gun | Fast | Low | Clean |
| Hammer | Slow | Medium to High | Depends on skill |
If you plan to install trim often, a finish nailer (16-gauge) is a good investment.
How Many Nails Should You Use For Door Trim?
Using the right nail size is important, but so is using enough nails. Door trim should be attached every 16 inches along the length. Add extra nails at the ends and corners. For a standard door trim piece (about 80 inches long), you’ll need 5 to 6 nails per side.
For wider or heavier trim, add more nails for extra strength.
Common Mistakes When Choosing Nail Size
Even experienced DIYers make errors when picking nails for door trim. Here are mistakes to avoid:
- Using nails that are too short: Trim will loosen or fall off.
- Using nails that are too thick: Splits wood or MDF.
- Nailing only into drywall: Nails must reach wood studs for a strong hold.
- Not matching nail gauge to trim thickness: Thicker nails for thick trim, thinner nails for delicate trim.
- Over-nailing: Too many nails can damage trim and make finishing harder.
Tips For Perfect Door Trim Installation
To achieve a smooth finish and secure trim, pay attention to these points:
- Pre-drill holes for thick or hardwood trim to avoid splitting.
- Angle nails slightly toward the wall to improve hold.
- Sink nails below the trim surface using a nail set or nail gun. Fill holes with wood putty for a clean look.
- Check for studs before nailing. Use a stud finder to make sure nails go into solid wood.
- Test on scrap pieces before installing to see how nails affect your material.
Comparing Nail Sizes: Real-world Data
To show how nail sizes work in practice, here’s a real-world comparison:
| Trim Material | Trim Thickness | Nail Gauge | Nail Length | Result |
|---|---|---|---|---|
| Wood | 3/4 inch | 16-gauge | 2 inches | Strong hold, no splitting |
| MDF | 1/2 inch | 18-gauge | 1.25 inches | No splitting, but weaker hold |
| Hardwood | 1 inch | 15-gauge | 2.5 inches | Very strong, risk of splitting |
Hidden Insights For Beginners
Many people new to trim work miss two key points:
- Nail placement is as important as nail size. Nails should go into the thickest part of the trim, not just the edge. This avoids splitting and gives a better hold.
- Humidity changes affect trim. Wood expands and contracts with moisture. Using nails that are too short can make trim pop loose over time, especially in humid areas.
Nail Size For Door Trim In Older Homes
Older homes often have plaster walls instead of drywall, or thicker trim with unique profiles. In these cases:
- Plaster walls require longer nails (2.5 inches) to reach the wood lath behind the plaster.
- Thicker trim needs 15-gauge nails for strength, but pre-drilling is often needed to avoid splitting.
Always check what’s behind the trim before nailing. In some cases, screws and anchors may be better.
Nail Size For Painted Vs. Stained Trim
Painted trim allows you to fill nail holes and sand them smooth. You can use slightly larger nails for painted trim, since holes can be hidden with putty. For stained trim, use smaller nails and place them carefully. Nail holes are more visible and harder to hide in stained wood.
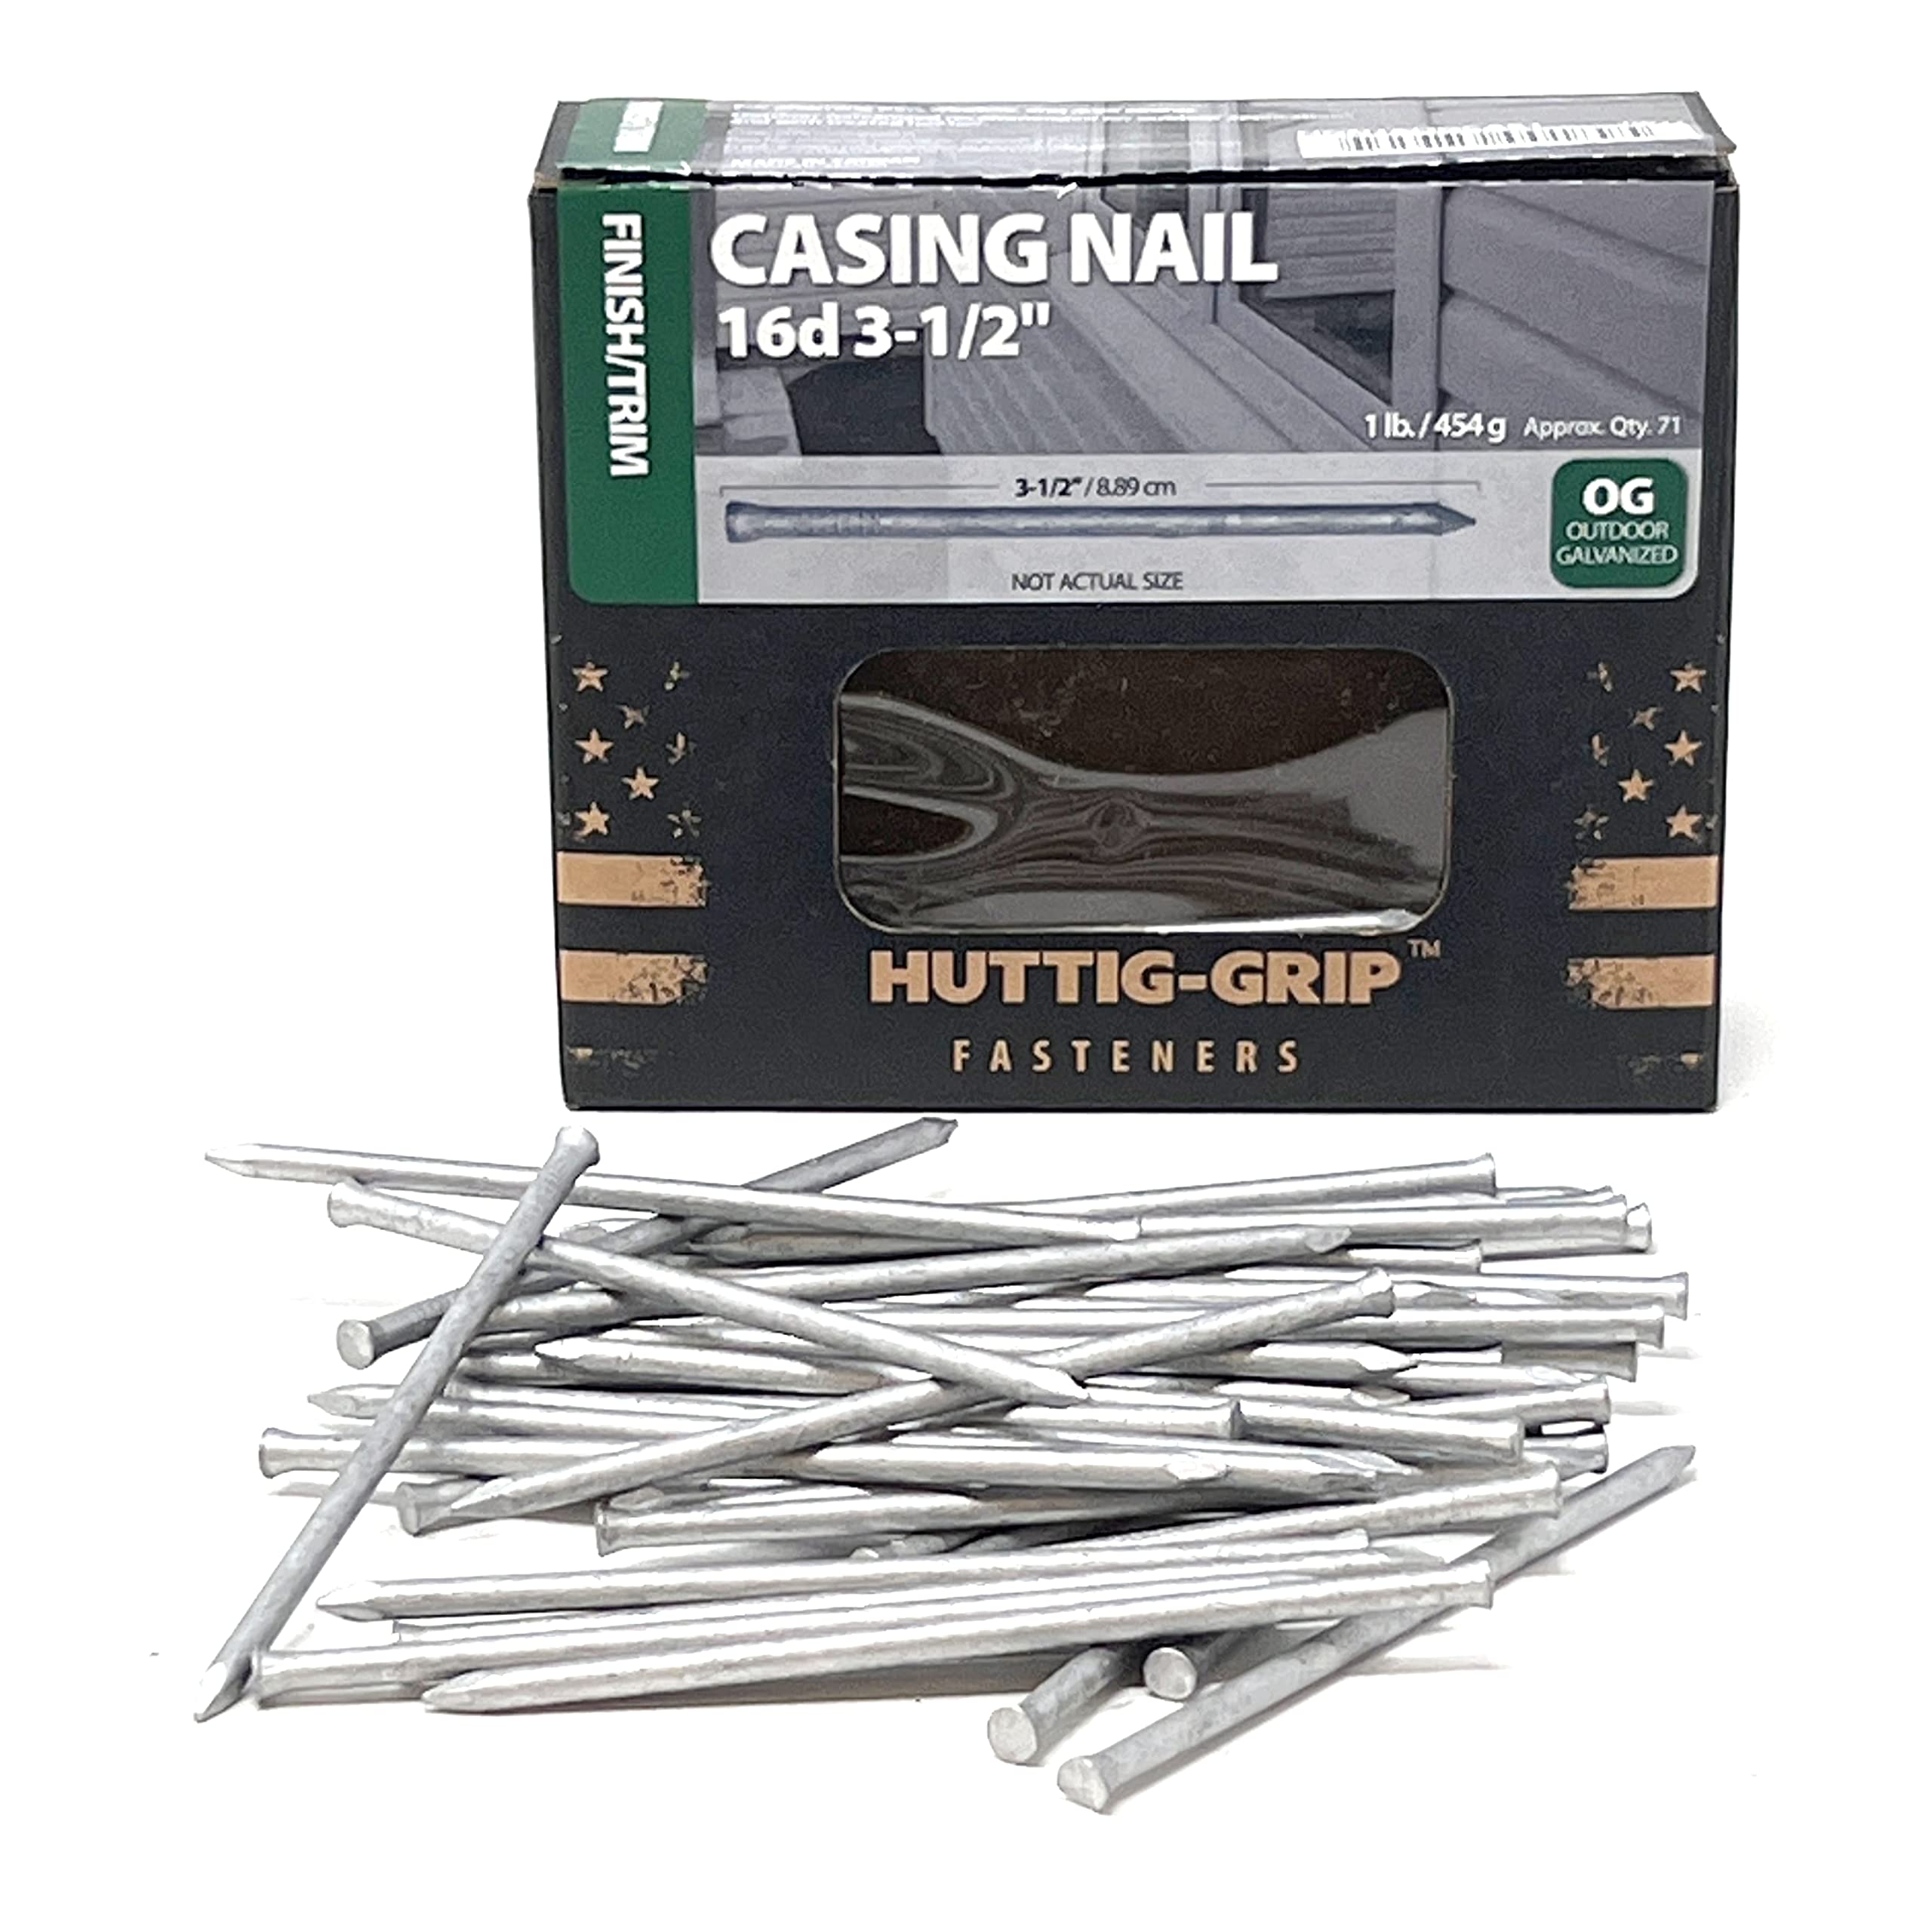
Environmental And Safety Considerations
Some nails are coated with adhesives or corrosion-resistant finishes. If your home is humid, or you’re installing trim near bathrooms, consider galvanized or coated nails. These resist rust and hold better in damp conditions. Always wear safety glasses when nailing, especially with power tools.
When To Use Screws Instead Of Nails?
Screws are rarely needed for standard door trim, but may help in special situations:
- Heavy trim pieces
- Trim over uneven surfaces
- Where extra strength is needed
If using screws, countersink them and fill holes for a smooth finish.
Frequently Asked Questions
What Is The Best Nail Size For Standard Door Trim?
The 16-gauge finish nail, 1.5 to 2 inches long, is best for most standard door trim. This size is strong, minimizes splitting, and fits most materials.
Can I Use Brad Nails For Mdf Door Trim?
Yes, 18-gauge brad nails (1.25 to 1.5 inches) work well for MDF trim. They cause less splitting. However, they are not as strong as finish nails, so avoid using them for heavy trim.
Should I Use A Nail Gun Or A Hammer For Door Trim?
A nail gun is faster and gives a cleaner finish. It reduces the risk of bending nails and damaging trim. For occasional trim work, a hammer is fine, but it requires more skill.
How Can I Avoid Splitting My Trim When Nailing?
Choose the right nail gauge for your trim thickness. For thin or delicate trim, use 18-gauge nails. For thick trim, pre-drill holes and use finish nails. Avoid nailing near the edge of the trim.
Do Nails Need To Go Into Studs Or Just Drywall?
Nails should always go into wood studs or framing behind the drywall. Nailing only into drywall is not strong enough for door trim. Use a stud finder to locate studs before nailing.
Final Word
Door trim projects can be simple and rewarding if you choose the right nail size and type. The right nails give a strong hold, clean finish, and long-lasting results. Always match nail gauge and length to your trim thickness and wall material. Take time to check for studs, place nails correctly, and use the best tool for the job.
Leave a Reply