
Cutting tile with a wet saw is a skill that can transform a simple renovation project into a professional-looking finish. Whether you’re updating a bathroom, installing a kitchen backsplash, or laying new flooring, using a wet saw helps you achieve clean, precise cuts that hand tools can’t match.
While the process might seem intimidating at first, with the right guidance, almost anyone can handle it safely and effectively.
Table of Contents
What Is A Wet Saw And Why Use It?
A wet saw is a power tool with a diamond-coated blade that spins quickly. Water flows over the blade to cool it and keep dust down. This setup is especially useful for cutting ceramic, porcelain, marble, and stone tiles. Wet saws can handle straight cuts, L-cuts, and even some curves, making them ideal for both DIYers and professionals.
Wet saws offer several advantages:
- Cleaner edges than manual cutters or snap tools
- Faster cutting for large projects
- Less risk of tile breakage because water cools and lubricates the blade
Essential Safety Tips
Working with a wet saw involves sharp blades and electricity near water. These safety measures are non-negotiable:
- Wear safety glasses to protect your eyes from flying chips.
- Use hearing protection. Wet saws can be loud, especially in enclosed spaces.
- Wear gloves for a better grip and hand protection. Thin, snug-fitting gloves work best.
- Keep the work area dry. Water and electricity can be dangerous. Wipe up spills and never touch the plug with wet hands.
- Check the saw for damage before use. Make sure the blade guard and water reservoir are in place.
Tools And Materials You’ll Need
Before starting, gather these:
- Wet saw (rental or owned)
- Diamond blade suitable for tile type
- Water supply (fill the saw’s tray with clean water)
- Tiles
- Measuring tape
- Pencil or washable marker
- Safety gear (glasses, gloves, ear protection)
- Scrap tile for test cuts
- Towel or sponge to dry tiles
- Straight edge or square for marking
Preparing The Wet Saw
A well-prepared saw means safer, more accurate work.
- Set up on a stable surface. Make sure the table doesn’t wobble.
- Check the water reservoir. Fill it with clean water up to the recommended line. This keeps the blade cool and dust levels low.
- Install the correct blade. Use one designed for your tile material.
- Adjust the fence or guide. This helps keep cuts straight and consistent.
| Tile Type | Recommended Blade | Special Considerations |
|---|---|---|
| Ceramic | Standard diamond blade | Easy to cut, minimal chipping |
| Porcelain | Continuous rim diamond blade | Harder material, go slower |
| Natural Stone | Segmented diamond blade | More water, check for cracks |
Marking And Measuring Your Tiles
Accurate cuts start with good measurements. Here’s how to avoid wasted tiles:
- Measure the space where the tile will fit. Use a tape measure for accuracy.
- Account for grout lines. Leave a gap (usually 1/8 inch) so tiles don’t press against each other.
- Mark the tile’s face with a pencil or washable marker. For dark or textured tiles, use painter’s tape and mark on top.
- Double-check measurements before cutting. It’s easy to flip a tile or mark the wrong side.
An extra tip: Always cut with the finished side facing up. This reduces chipping and gives a cleaner edge.
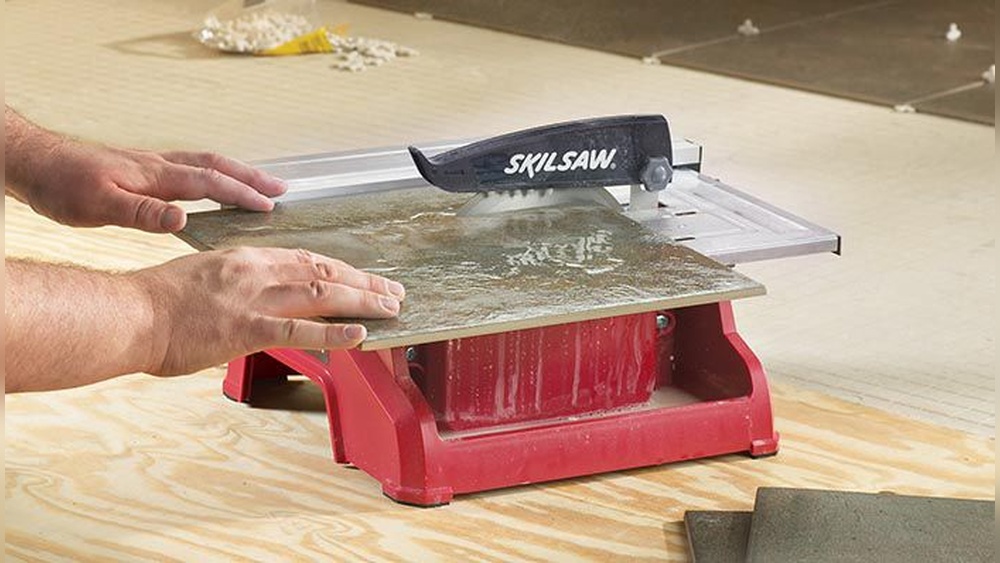
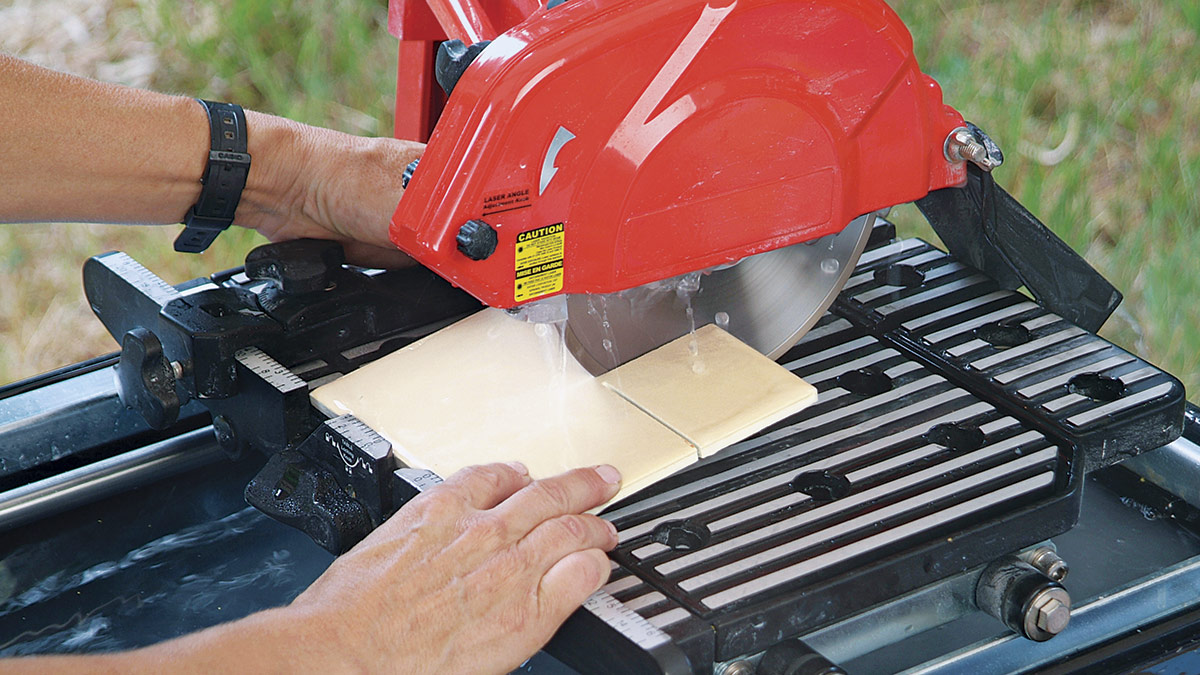
Making A Straight Cut
Straight cuts are the most common and easiest to master. Here’s how to do it well:
- Position the tile on the wet saw’s sliding tray with the marked line under the blade.
- Align the guide. Set the fence or guide to keep the tile steady.
- Start the saw. Wait for the blade to spin at full speed and make sure water is flowing over it.
- Slowly push the tile toward the blade. Use both hands—one on each side of the tile—but keep fingers away from the blade.
- Let the blade do the work. Don’t force the tile. Move at a steady, moderate pace.
- Finish the cut. When the blade passes through the last edge, gently pull the tile away.
After cutting, use a towel or sponge to dry the tile and check for rough edges. If needed, smooth them with a rubbing stone.

Cutting Curves And Notches
Some projects require more than straight lines—think outlets, pipes, or corners. The wet saw can handle these with the right approach.
Cutting L-shaped Notches
- Mark the notch on the tile’s face.
- Make a series of straight cuts up to the marked lines, like slicing a pie but only up to the corner.
- Snap off the thin strips with pliers or by hand.
- Clean up the corner using the saw or a tile file.
Cutting Curves
- Draw the curve on the tile.
- Make small straight cuts up to the curve line, removing thin slivers each time.
- Break away the pieces and smooth the curve with a tile nipper or rubbing stone.
It’s best to practice these cuts on a scrap tile first. Curves and notches require patience but add a professional touch to the final result.
Common Mistakes And How To Avoid Them
Even experienced users make errors. Watch for these issues:
- Rushing the cut. Forcing the tile can crack or chip it. Go slowly, especially with porcelain or stone.
- Not enough water. If the blade isn’t wet, it overheats and damages both the tile and blade.
- Wrong blade for the material. Using the wrong blade increases chipping and slows progress.
- Improper measurements. Always double-check marks and tile orientation. Cutting on the wrong side wastes material.
- Not supporting small pieces. Hold small tile sections firmly. They can twist or break near the end of the cut.
A less obvious point: Pay attention to the water’s clarity. Dirty water reduces cooling and can score the tile surface. Change it often, especially when cutting a lot of tiles.
Cleaning And Maintaining Your Wet Saw
Proper care extends the life of your saw and keeps cuts smooth.
- Empty and rinse the water tray after each use. Tile dust builds up quickly.
- Clean the blade with a stiff brush to remove stuck material.
- Check the blade for wear. If it’s dull, replace it. A worn blade causes chipping and slow cuts.
- Lubricate moving parts as recommended in the user manual.
Regular maintenance means better performance and safer operation the next time you cut.
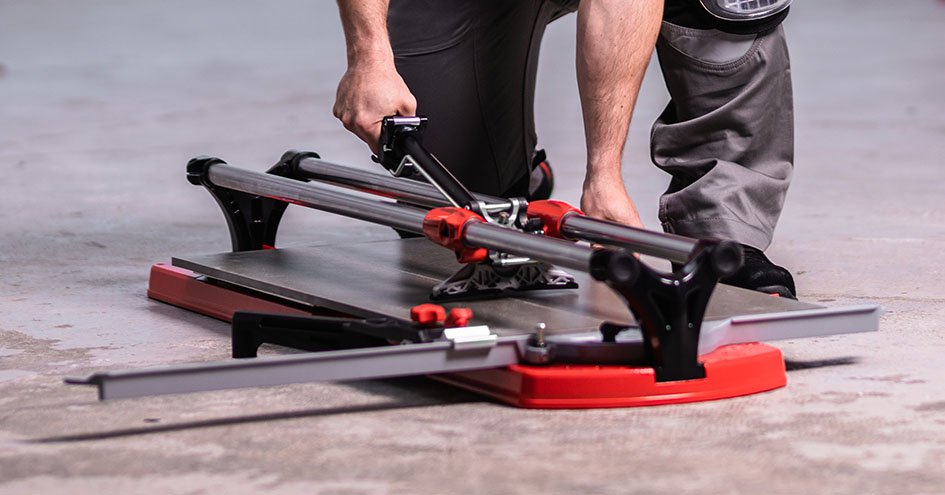
Comparing Wet Saws With Other Tile Cutting Methods
Is a wet saw always the best choice? Not every project needs one. Here’s how wet saws compare with other common tools:
| Method | Best For | Advantages | Disadvantages |
|---|---|---|---|
| Wet Saw | Medium to large jobs, hard tiles | Clean edges, handles thick tiles, many cut shapes | Requires power and water, heavier tool |
| Manual Snap Cutter | Small jobs, soft ceramic tiles | Quick, quiet, no power needed | Limited to straight cuts, can chip edges |
| Tile Nippers | Small, curved cuts, mosaic work | Inexpensive, good for detail | Slow, rough edges |
For large rooms, hard materials, or projects where looks matter, a wet saw is usually worth the effort.
Practical Tips For Better Results
Even small adjustments can make a big difference:
- Make a test cut on a scrap tile before starting your real tiles.
- Keep the blade wet. If water stops flowing, stop cutting until you fix the problem.
- Hold the tile steady. Sudden twists lead to broken pieces.
- Use a light touch. Let the blade, not your strength, do the cutting.
- Clean the saw frequently during the project.
A common beginner mistake is ignoring the saw’s sound. If you hear a high-pitched whine or grinding, the blade may be dull or the water low.
When To Replace The Blade?
A sharp blade is key for safe, smooth cuts. Signs it’s time for a new one:
- Chipping increases even at slow speed.
- Cutting takes much longer than before.
- You see sparks or smell burning tile.
- The blade feels rough or has missing diamond segments.
Most DIYers can get through a typical bathroom or kitchen with one blade, but tough materials like porcelain may need a replacement sooner.
Environmental And Health Considerations
Wet saws reduce dust, but some fine particles still escape. Always cut in a well-ventilated space and wear a mask if you’re sensitive to dust. Dispose of tile shards properly—they can be sharp and aren’t recyclable in standard bins.
Some tiles, especially old ones, may contain silica or even lead glaze. If you’re working on an older home, check local guidelines for safe disposal and handling. The EPA offers more details on dealing with hazardous materials.
Frequently Asked Questions
How Often Should I Change The Water In The Wet Saw Tray?
Change the water whenever it looks cloudy or filled with tile debris. Fresh water cools the blade and keeps cuts clean. For large jobs, check the tray every 20–30 minutes.
Can I Cut Glass Tile With A Wet Saw?
Yes, but use a glass tile-specific blade and move very slowly. Glass chips easily, so support the tile well and cut with the finished side up.
What Should I Do If The Tile Chips During Cutting?
Slow down your cutting speed and check your blade. Make sure you’re using the right blade for your tile type. Supporting the tile close to the cut can also reduce chipping.
Is A Wet Saw Safe For Beginners?
Yes, with proper safety gear and attention to instructions, beginners can use a wet saw. Always keep hands clear of the blade and never bypass safety features.
Can I Rent A Wet Saw Instead Of Buying One?
Absolutely. Most home improvement stores offer rentals by the hour or day, making it affordable for one-time projects.
Last Word
Cutting tile with a wet saw might seem challenging at first, but with careful setup and attention to detail, you’ll achieve professional-looking results. The key is patience—take your time with measurements, let the blade do the work, and always keep safety in mind.
With this approach, even complex patterns or hard materials become manageable, giving your project a finish that stands out.
Leave a Reply