
Using a sheet sander can make woodworking smoother and faster. This tool is popular for its ability to create even surfaces on wood, metal, and plastic. Many people use sheet sanders to finish furniture, doors, or cabinets. If you have not used one before, you will find that it is easy to handle with a little preparation. The following advice will help you use a sheet sander safely and effectively, even if you are new to sanding.
Table of Contents
What Is A Sheet Sander?
A sheet sander is an electric tool that holds a piece of sandpaper. The sandpaper moves in small circles or back and forth. This motion removes rough spots and makes surfaces smooth. Most sheet sanders use regular-sized sandpaper sheets, which are easy to replace.
Many woodworkers choose sheet sanders because they are light and fit in one hand. Compared to other sanders, such as belt sanders or orbital sanders, sheet sanders are better for finishing jobs. They are less aggressive and allow for more control.
| Tool Type | Finish Quality | Best Use | Weight |
|---|---|---|---|
| Sheet Sander | Fine | Smoothing & finishing | Light |
| Belt Sander | Coarse | Heavy material removal | Heavy |
| Orbital Sander | Medium | General sanding | Medium |
Preparing For Sanding
Before you use a sheet sander, it is important to get ready. Preparation helps you avoid mistakes and saves time.
- Choose the right sandpaper grit: Sandpaper comes in different grits. A low number (like 60) means rough paper, good for removing material. A high number (like 220) means fine paper, best for finishing. Start with a coarse grit and move to finer grits for a smooth result.
- Inspect your tool: Check the sander for damage or loose parts. Make sure the sandpaper is installed correctly, with no wrinkles.
- Wear safety gear: Use safety glasses and a dust mask. Sheet sanders create fine dust that can harm your eyes and lungs.
- Clean your workspace: Remove clutter and make sure your workpiece is secure. Sanding on a stable surface prevents accidents.
| Sandpaper Grit | Use Case | Finish Level |
|---|---|---|
| 60-80 | Removing paint/rough material | Coarse |
| 120-150 | Smoothing edges | Medium |
| 180-220 | Final finishing | Fine |

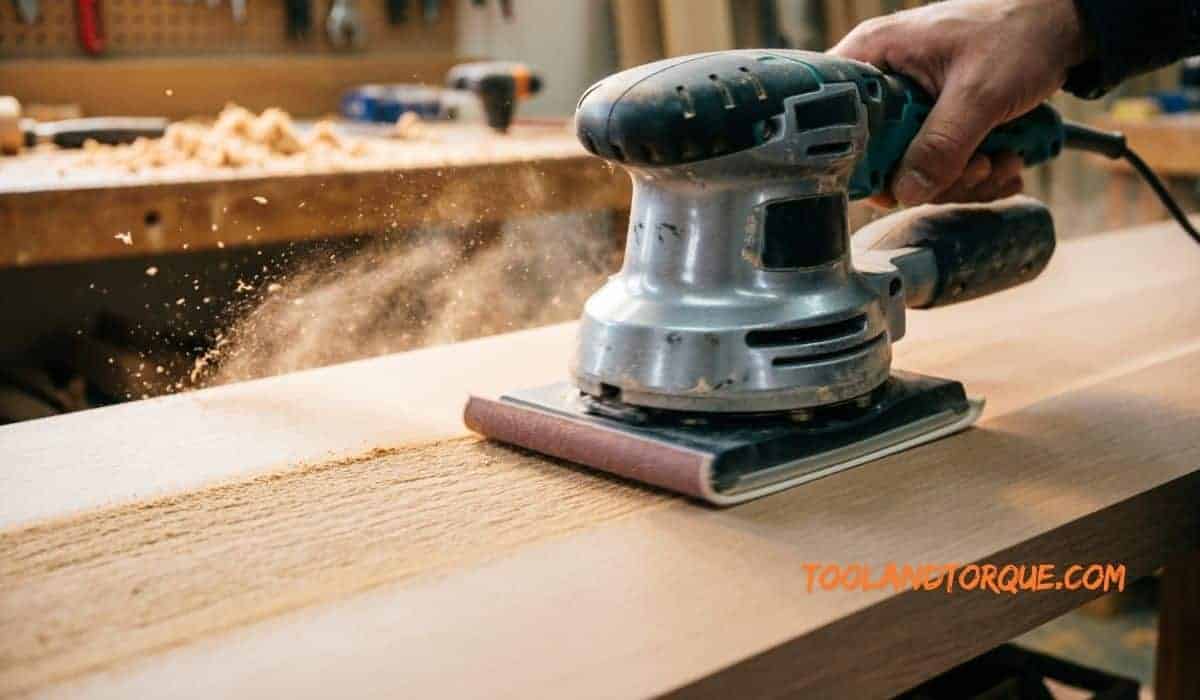
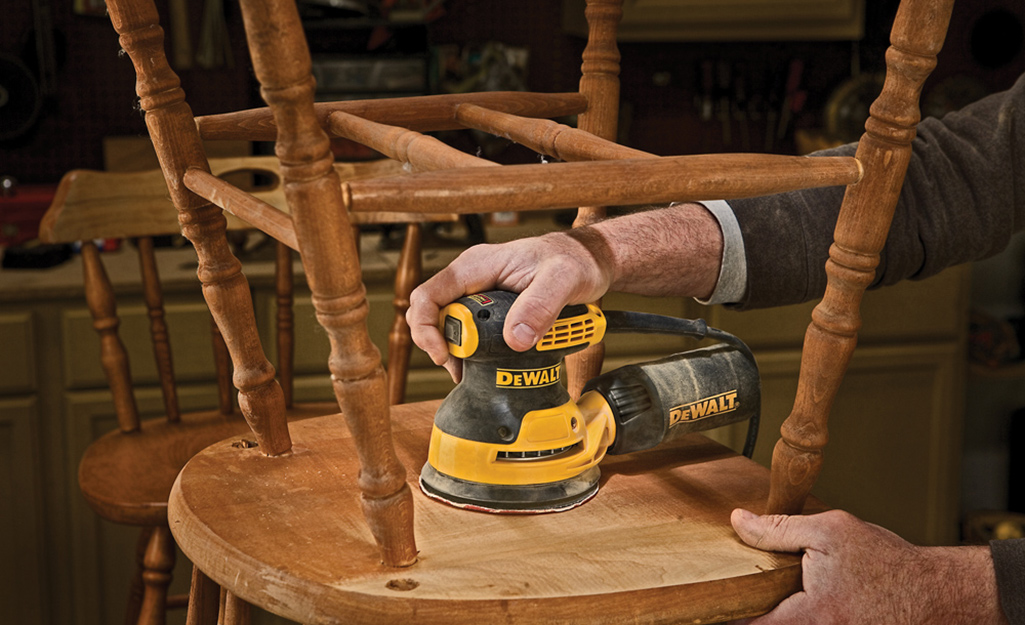
Using A Sheet Sander
Once you are ready, follow these steps to use a sheet sander properly:
- Attach the sandpaper: Cut your sandpaper to the right size. Most sheet sanders need a quarter or half sheet. Secure the paper using the sander’s clamps or Velcro pad.
- Plug in and grip the tool: Hold the sander firmly with one hand. Keep your other hand free to steady the workpiece.
- Start sanding: Turn on the sander. Begin at one edge of the surface, moving slowly along the grain of the wood. Do not press down hard; let the sander’s weight do the work.
- Check progress often: Pause every few minutes. Feel the surface and check for smoothness. Change sandpaper if it becomes clogged or worn.
- Clean up dust: Use a vacuum or damp cloth to remove dust between sandpaper changes. This prevents scratches and keeps your workspace safe.
Many beginners make the mistake of pressing too hard. This can cause uneven surfaces or damage the sander. Another common error is ignoring the grain direction. Always sand in the direction of the grain for the best result.
Practical Tips For Better Results
A few simple habits can improve your sanding work:
- Keep sandpaper flat: Wrinkles or folds will leave marks.
- Move slowly and evenly: Rushing causes uneven surfaces.
- Avoid over-sanding: Too much sanding can thin the material or round edges.
- Use a dust collection system: Some sheet sanders have a built-in dust bag. This keeps your workspace cleaner and can reduce health risks.
One non-obvious tip is to mark your surface with a pencil before sanding. Lightly draw lines across the workpiece. When the pencil marks disappear, you know you have sanded evenly. This is especially useful for beginners.
Another insight: If your sandpaper clogs quickly, the wood might be too moist or you are sanding paint. Try changing to a different grit or use a sanding block first.
| Common Mistake | Impact | How to Avoid |
|---|---|---|
| Pressing too hard | Uneven surface, motor strain | Let tool weight do the work |
| Skipping grits | Visible scratches | Use progressive grits |
| Sanding against grain | Scratches, poor finish | Always sand with grain |
Maintenance And Storage
To keep your sheet sander working well:
- Clean after use: Wipe the tool with a dry cloth. Remove dust from vents and pads.
- Store in a dry place: Moisture can cause rust and damage electrical parts.
- Inspect power cord and switches: Check for cracks or wear. Replace damaged parts immediately.
A well-maintained sheet sander can last many years. According to statistics, regular cleaning reduces tool failures by up to 30%.
Frequently Asked Questions
How Much Pressure Should I Use With A Sheet Sander?
Use light pressure. The tool’s weight is enough. Extra force can cause uneven sanding or motor problems.
Can I Use A Sheet Sander On Painted Surfaces?
Yes, but use medium or coarse sandpaper first. Painted surfaces can clog fine sandpaper quickly.
How Often Should I Change Sandpaper?
Change sandpaper when it feels less effective or looks worn. For large projects, change every 30-60 minutes.
Is A Sheet Sander Safe For Beginners?
Sheet sanders are easy to control and safe if you follow basic safety tips. Always wear protective gear and keep your work area clean.
What Materials Can I Sand With A Sheet Sander?
You can sand wood, metal, and some plastics. Always check that the sandpaper is suitable for the material.
Final Word
A sheet sander is a practical tool for anyone who wants smooth finishes. With careful preparation, correct sanding methods, and regular maintenance, you can achieve professional results. Avoid common mistakes and use the right sandpaper for your project. Even small jobs benefit from good sanding.
By following these guidelines, your projects will look cleaner and feel smoother.

Leave a Reply