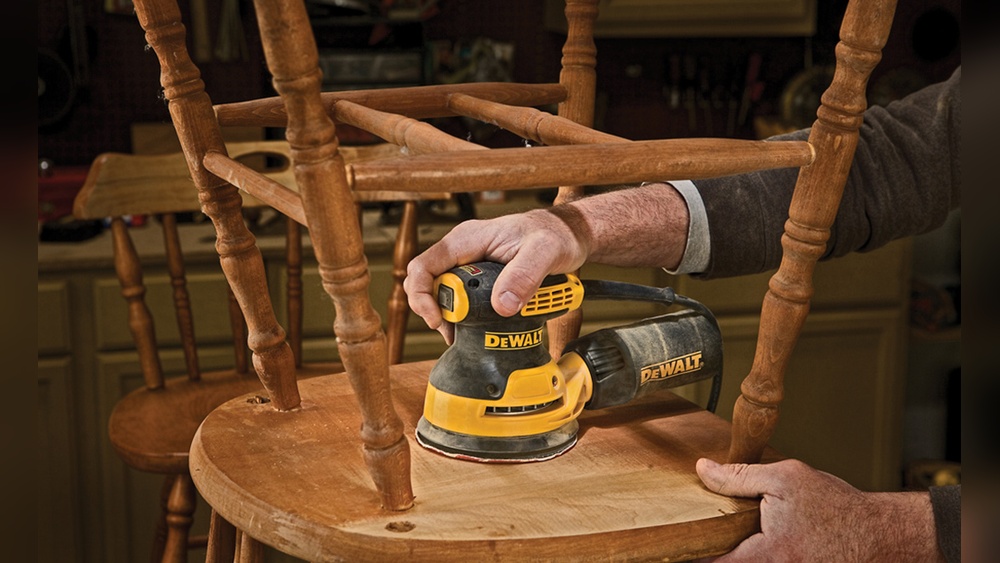
Using a random orbital sander makes sanding faster and easier for both beginners and experienced DIYers. This power tool is popular for woodworking, furniture refinishing, and prepping surfaces for paint. It works by spinning and vibrating at the same time, which helps prevent swirl marks and gives a smooth finish. If you want to improve your sanding results and save time, knowing how to use a random orbital sander correctly is essential.
Table of Contents
What Is A Random Orbital Sander?
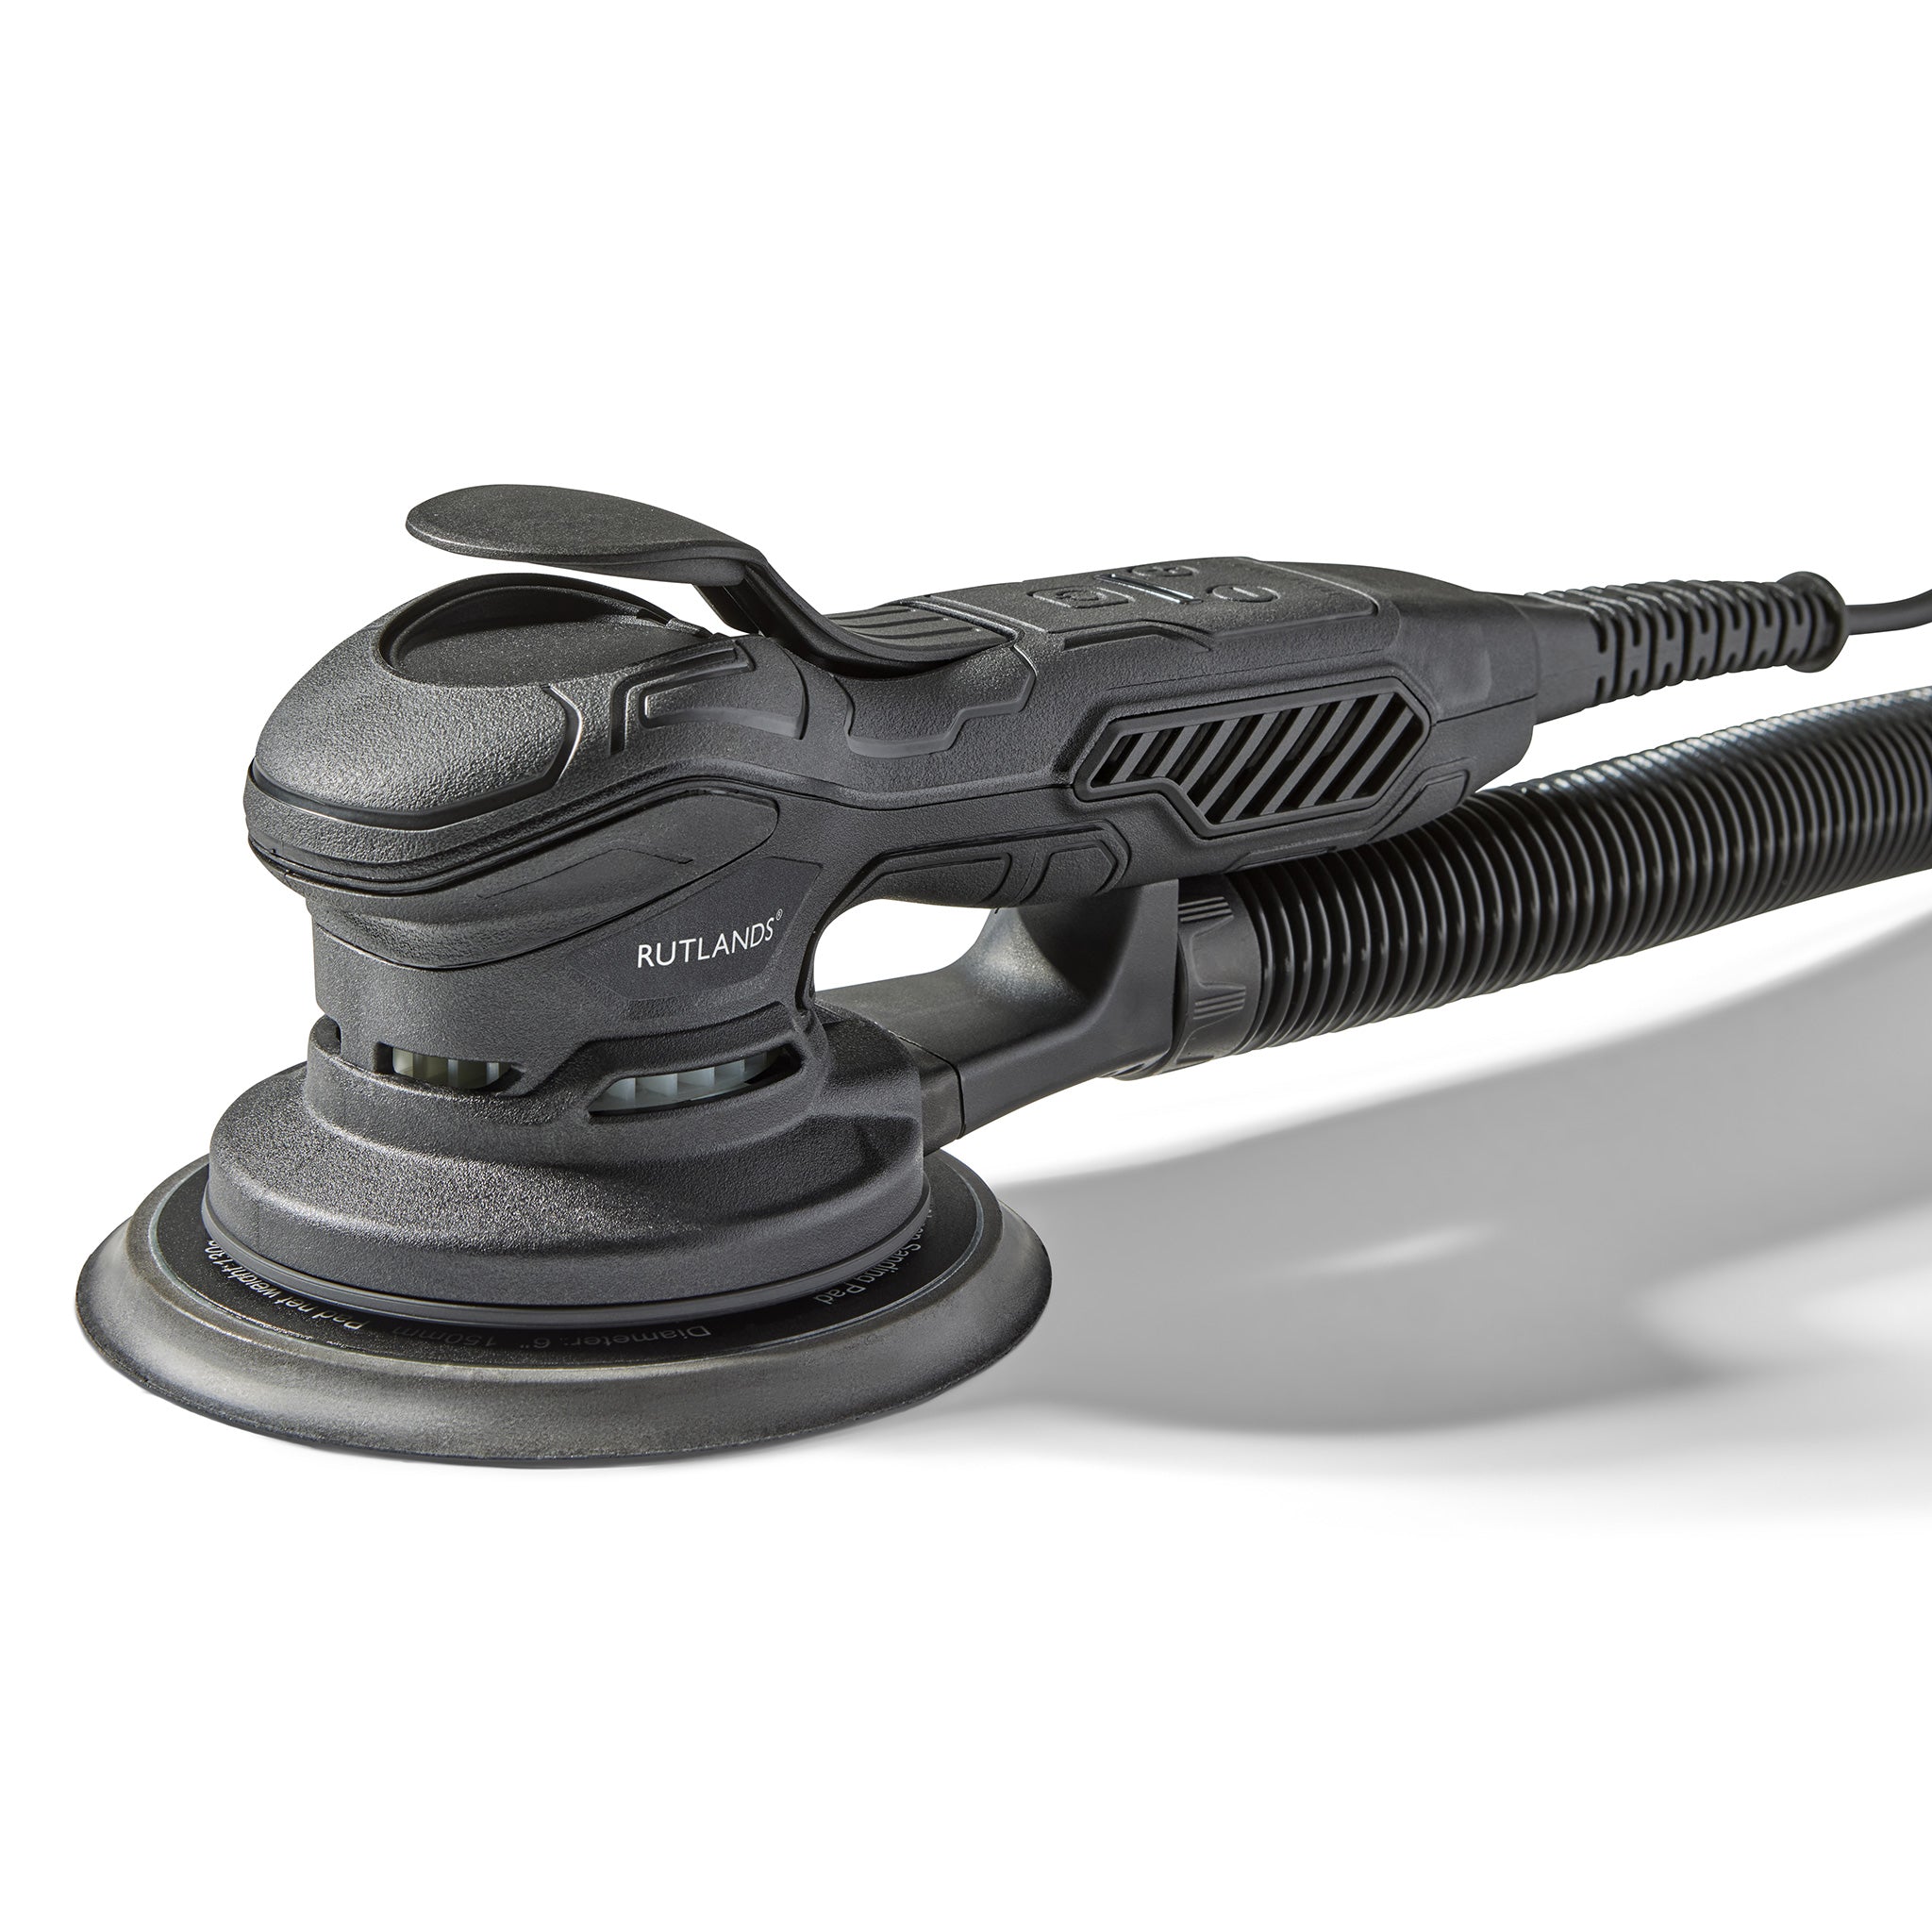
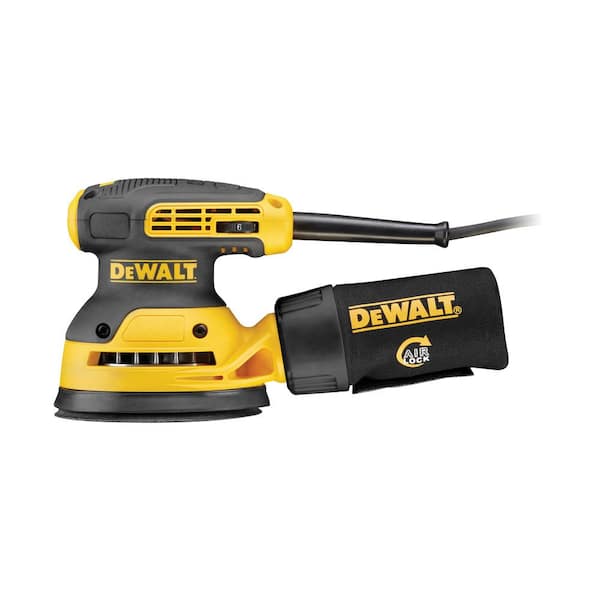
A random orbital sander is an electric tool with a round sanding pad, usually 5 or 6 inches across. The pad moves in circles and also vibrates randomly, which keeps the sanding pattern from repeating. This design reduces visible marks and makes it useful for finishing wood, metal, or plastic.
Key features:
- Round pad with hook-and-loop attachment
- Variable speed control (in most models)
- Dust collection system
- Lightweight and easy to handle
| Feature | Random Orbital Sander | Belt Sander | Sheet Sander |
|---|---|---|---|
| Sanding pad shape | Round | Rectangular | Square |
| Finish quality | Very smooth | Coarse | Smooth |
| Best for | Wood, paint prep | Heavy material removal | Light sanding |
Getting Ready To Sand
Preparation helps you get the best results. Always check your tool and workspace before you start.
- Safety gear: Wear safety glasses, a dust mask, and hearing protection. Wood dust can cause health problems if inhaled.
- Choose the right sandpaper: Sanding discs come in different grits. Lower numbers (60–80 grit) remove material quickly. Higher numbers (120–220 grit) are for smooth finishes.
- Attach sandpaper: Make sure the disc lines up with the holes in the pad, so the dust collection works properly.
- Check dust collection: Most sanders have a bag or can connect to a vacuum. Empty the bag often for better airflow.
| Grit Number | Purpose | Recommended Use |
|---|---|---|
| 60 | Heavy removal | Paint stripping, rough wood |
| 120 | Medium smoothing | General sanding |
| 220 | Fine finish | Final sanding before paint |

Using A Random Orbital Sander
Once you have the tool ready, follow these basic guidelines for the best sanding results.
- Plug in and set speed: If your sander has variable speed, start with a slower setting for control.
- Hold the sander flat: Keep the pad level with the surface. Tilting creates uneven spots and scratches.
- Start with coarse grit: Begin sanding with lower grit if the surface is rough. Move to finer grits as you progress.
- Move slowly: Guide the sander in overlapping paths. Don’t push down; let the tool’s weight do the work.
- Check your progress: Stop occasionally and wipe off dust. Look for areas that need more sanding or spots you missed.
- Switch grits as needed: Change discs and repeat the process with higher grits for a smooth finish.
- Clean the tool: Dust buildup can harm the motor. After use, wipe the sander and empty the dust bag.
One detail many people miss: random orbital sanders work best when you don’t press hard. Extra force slows the pad and wears out discs faster, leading to uneven results.
| Action | Result | Common Mistake |
|---|---|---|
| Light pressure | Smooth finish | None |
| Heavy pressure | Pad slows down | Uneven sanding |
| Fast movement | Missed spots | Visible marks |
Practical Tips For Better Results
- Sand in stages: Start with rough grit and go finer gradually. Skipping grits leaves scratches.
- Change discs early: Worn sandpaper cuts poorly. Replace it before it looks completely smooth.
- Keep the tool moving: Staying in one spot creates divots. Move slowly but steadily.
- Vacuum between grits: Removing dust lets you see flaws and prevents grit from scratching the surface.
- Watch edges: The pad can quickly round corners. Sand edges lightly and check often.
Two insights beginners often miss: First, sanding too fast means you miss small imperfections. Second, ignoring dust collection can leave tiny particles on the surface, which affect paint or finish later.
Common Mistakes To Avoid
Many users make errors that waste time or damage their project.
- Using the wrong grit: Starting with very fine sandpaper on rough wood won’t smooth it well.
- Pressing down: This slows the pad and makes the motor work harder, shortening tool life.
- Skipping dust collection: Dust can cause breathing problems and reduces visibility.
- Not cleaning between grits: Old dust hides scratches, so the final finish may look poor.
Random Orbital Sander Safety
Always follow basic safety steps:
- Wear eye protection and a dust mask.
- Keep fingers away from the moving pad.
- Unplug the sander before changing discs.
- Do not use in wet conditions.
- Store out of reach of children.
Frequently Asked Questions
What Surfaces Can I Sand With A Random Orbital Sander?
You can use it on wood, metal, plastic, and painted surfaces. It works best for flat or gently curved surfaces.
How Do I Choose The Right Sandpaper Grit?
Start with coarse grit (60–80) for rough surfaces, then use medium (120) and finish with fine (220) for smooth results.
Can I Use A Random Orbital Sander For Removing Paint?
Yes, but use coarse grit and check often. Avoid pressing hard, or you may gouge the surface.
How Do I Prevent Swirl Marks?
Keep the pad flat and move slowly. Use higher grit discs for final sanding, and clean the surface between grits.
Is A Random Orbital Sander Better Than A Sheet Sander?
For most finishing jobs, yes. The random movement reduces marks and gives a smoother finish.
Final Word
Using a random orbital sander correctly gives professional results and saves time. Proper preparation, the right sandpaper, and steady technique help you avoid common mistakes. With a little practice, you’ll get smooth surfaces ready for paint or stain. Always follow safety rules and keep your tool clean for best performance.
Leave a Reply