
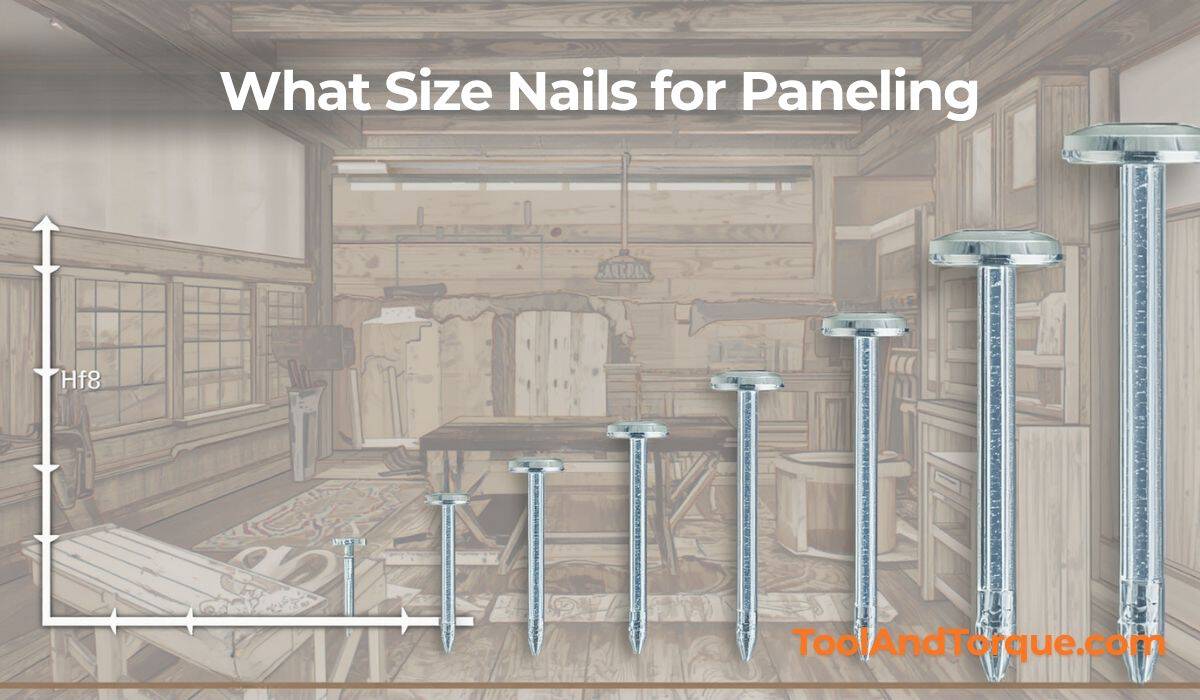
When installing paneling, choosing the right nail size is essential. Too small, and the panel might loosen over time. Too large, and the nail could crack the wood or ruin the appearance. This guide will help you select the best nails for paneling, explain why size matters, and show you how to achieve a strong, clean finish.
Table of Contents
Why Nail Size Matters For Paneling?
Paneling is often made from thin sheets of wood, MDF, or plywood. These materials can split or warp if fastened incorrectly. Using the right nail size ensures the panel stays secure without damage. Nails that are too short may not hold the paneling tightly. Nails that are too thick can split the material or leave visible holes that are hard to cover.
Choosing the correct nail is not just about holding power. It also affects the final appearance and the long-term durability of your paneling. For example, visible nail heads can be distracting, especially if you want a smooth, professional look.
Common Types Of Nails For Paneling
Several nail types are suitable for paneling. Here are the most popular options:
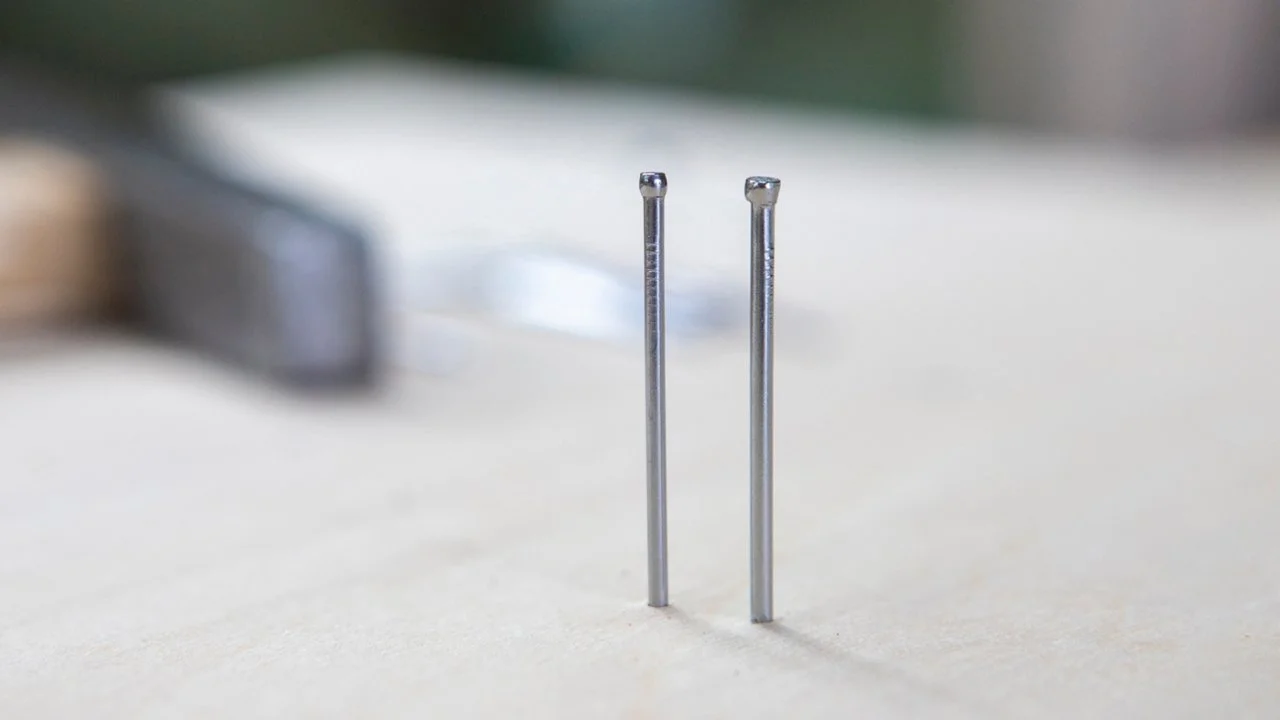
1. Finish Nails
Thin, with small heads. Ideal for paneling because they leave minimal marks.
2. Brad Nails
Even thinner than finish nails. Best for very thin panels or delicate wood.
3. Panel Pins
Specifically designed for paneling. Often used in DIY projects.
4. Staples
Sometimes used for paneling in non-visible areas, but less common for decorative finishes.
Each type has its own advantages. For most residential paneling, finish nails or brad nails are preferred.

Ideal Nail Sizes For Paneling
The right nail size depends on the thickness and type of your paneling. Here’s a general guide:
| Panel Thickness | Nail Length | Nail Gauge | Recommended Nail Type |
|---|---|---|---|
| 1/4″ (6 mm) | 1″–1.25″ | 18–16 gauge | Brad or Finish |
| 3/8″ (9 mm) | 1.25″–1.5″ | 16 gauge | Finish |
| 1/2″ (12 mm) | 1.5″–2″ | 15–16 gauge | Finish |
For most standard wood paneling (1/4″ to 1/2″ thick), 1.25″ to 2″ finish nails (16 gauge) are a safe choice. For thinner panels, brad nails (18 gauge) work well.
Nail Gauge And Why It Matters
Gauge is the thickness of the nail. Higher gauge numbers mean thinner nails. For paneling, a thinner nail is often better. It causes less damage and is easier to conceal.
- 18 gauge: Brad nails. Good for delicate panels.
- 16 gauge: Finish nails. Suitable for most paneling.
- 15 gauge: Heavier finish nails. Used for thicker panels or where extra strength is needed.
Thicker nails (lower gauge) are rarely needed for standard paneling. They are more likely to split the wood or leave larger holes.
Nail Length: How Much Should It Penetrate?
The nail should be long enough to go through the panel and into the wall stud or substrate. A general rule is that the nail should penetrate the substrate by at least 3/4″.
If you use a nail that is too short, the panel may loosen or pop off over time. Too long, and the nail may bend or be difficult to drive straight.
Example:
If your paneling is 1/4″ thick and you want to secure it to drywall (with a stud behind), a 1.25″ finish nail is appropriate. The nail passes through the panel and drywall, then anchors into the stud for a solid hold.
Types Of Paneling And Nail Needs
Paneling comes in many materials. Each has its own requirements:
| Panel Type | Material | Recommended Nail Size | Notes |
|---|---|---|---|
| Wood | Solid or plywood | 1.25″–2″ finish nails (16 gauge) | Usually thicker, needs longer nails |
| MDF | Medium-density fiberboard | 1″–1.5″ brad nails (18 gauge) | Prone to splitting, use thinner nails |
| Beadboard | Thin wood or MDF | 1″ brad nails (18 gauge) | Delicate, avoid thick nails |
| PVC | Plastic panels | 1.25″ finish nails (16 gauge) | Use corrosion-resistant nails |
Manual Vs. Nail Gun: Which Is Better?
You can drive paneling nails by hand or use a nail gun. Each method has its pros and cons.
Manual nailing
Allows careful placement. Good for small projects. Takes longer and may cause more splitting if not done gently.
Nail gun
Fast and efficient. Reduces risk of splitting. Leaves consistent nail holes. Requires careful handling to avoid over-driving.
For large paneling projects, a finish nailer or brad nailer is recommended. It saves time and produces a clean result.
Nail Head Styles
Paneling nails come with different head styles:
- Small head (finish/brad): Easy to conceal with wood filler. Leaves a neat surface.
- Large head (common nails): More visible. Not usually recommended for decorative paneling.
If appearance is important, choose nails with small heads. You can cover these with filler and paint for a seamless look.
Nail Materials And Coatings
The material and coating of the nail affects durability:
- Steel nails: Standard, affordable. Can rust in damp areas.
- Galvanized nails: Coated to resist rust. Good for bathrooms or basements.
- Stainless steel nails: Best for outdoor paneling or moisture-prone rooms.
Using the right nail material prevents rust stains and keeps panels secure.
How Many Nails Per Panel?
Spacing nails correctly prevents sagging and ensures a strong hold. For most paneling:
- Place nails every 12–16 inches along studs.
- At the edges, nails should be spaced every 8–10 inches.
Example:
A 4-foot wide panel may need about 4–6 nails along each edge and several along the center, depending on stud spacing.
Tips For A Clean Paneling Finish
- Pre-drill holes for thick or brittle panels. This reduces splitting.
- Use a nail set to sink nail heads below the surface.
- Fill nail holes with wood filler for a smooth look.
- Sand after filling for a perfect finish.
- Paint or stain after sanding for best results.
Many beginners forget to use a nail set, which can leave raised heads. Also, filling and sanding are often skipped, leading to visible holes.
Mistakes To Avoid
- Using common nails: Their heads are too large and can ruin the look.
- Choosing nails that are too short: Panels may come loose over time.
- Not checking the substrate: Drywall alone may not hold paneling. Fasten to studs.
- Over-driving nails with a gun: Can sink nails too deep, damaging the panel.
Another frequent mistake is ignoring nail material. In damp rooms, steel nails can rust and cause stains. Always use galvanized or stainless steel nails where moisture is possible.
Real-world Examples
A homeowner installed 1/4″ oak veneer paneling in a living room. They chose 1.5″ finish nails (16 gauge) and drove them into wall studs every 14 inches. Nail holes were filled and sanded, then painted. After five years, the panels remain tight, and the finish looks smooth.
In another case, a DIYer used brad nails for thin beadboard in a bathroom. They placed nails every 10 inches, but used steel nails. After two years, rust stains appeared. Replacing them with galvanized nails solved the problem.
Comparing Nails For Paneling
Here’s a quick comparison of common nail types for paneling:
| Nail Type | Gauge | Best Use | Visibility |
|---|---|---|---|
| Brad Nail | 18 | Thin panels | Low |
| Finish Nail | 15–16 | Standard panels | Low |
| Panel Pin | 18–20 | Very thin panels | Minimal |
| Common Nail | 8–12 | Structural wood | High |
When To Use Screws Instead Of Nails?
Sometimes, screws are better for paneling, especially for thick panels or heavy materials. Screws offer more holding power and are easier to remove. However, they are more visible and require countersinking and filling.
Use screws for:
- Heavy wood panels
- Areas where panels may need removal
- Panels over uneven surfaces
For most decorative paneling, nails are the preferred option.
Safety And Tools
Wear safety glasses when nailing, especially with power tools. Use a stud finder to locate wall studs for secure fastening. For precise results, keep a level handy to check panel alignment.
Frequently Asked Questions
What Size Nails Should I Use For 1/4″ Paneling?
For 1/4″ paneling, use 1″ to 1.25″ brad or finish nails (18–16 gauge). This offers a secure hold without splitting the panel.
Can I Use A Nail Gun For Paneling?
Yes, a nail gun is ideal for paneling. It speeds up installation and reduces the risk of splitting. Use a finish nailer or brad nailer with the correct nail size.
Should I Use Galvanized Nails In A Bathroom?
Yes, galvanized nails resist rust and are recommended for bathrooms, basements, or any area with moisture. Regular steel nails can rust and stain paneling.
How Do I Hide Nail Holes In Paneling?
After nailing, use wood filler to cover holes. Once dry, sand the area and finish with paint or stain for a smooth surface.
How Far Apart Should Nails Be Placed On Paneling?
Space nails every 12–16 inches along studs. At panel edges, place nails every 8–10 inches for extra support.
Final Word
A careful choice of nail size, gauge, and material will give your paneling a lasting, professional look. Avoid common mistakes and follow best practices for a result that stands the test of time. Paneling can transform a room, but only if installed with the right nails and attention to detail.
Leave a Reply